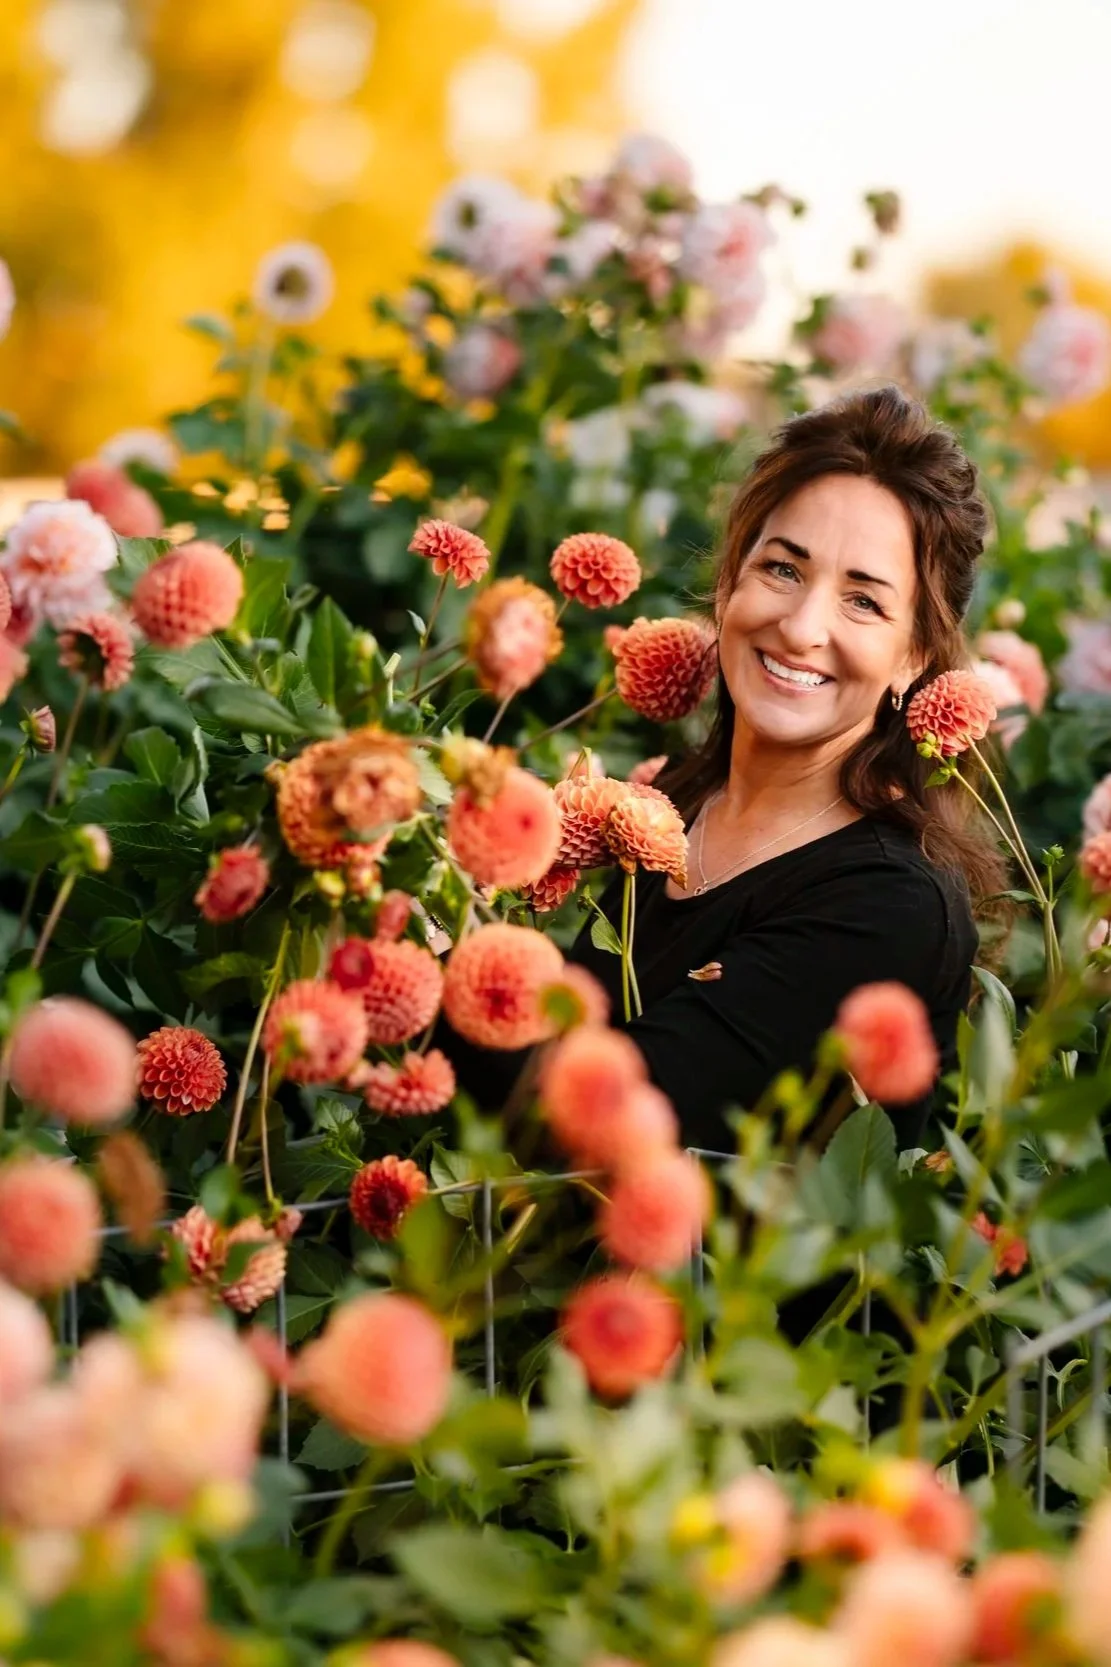
The Ella June Blog
From Weddings to Workshops and Gardens to Gatherings
Flower lovers are welcome here.
Relax, settle in, and take your time exploring these thoughtful posts. Created to guide and inspire you.
You’re in just the right place.
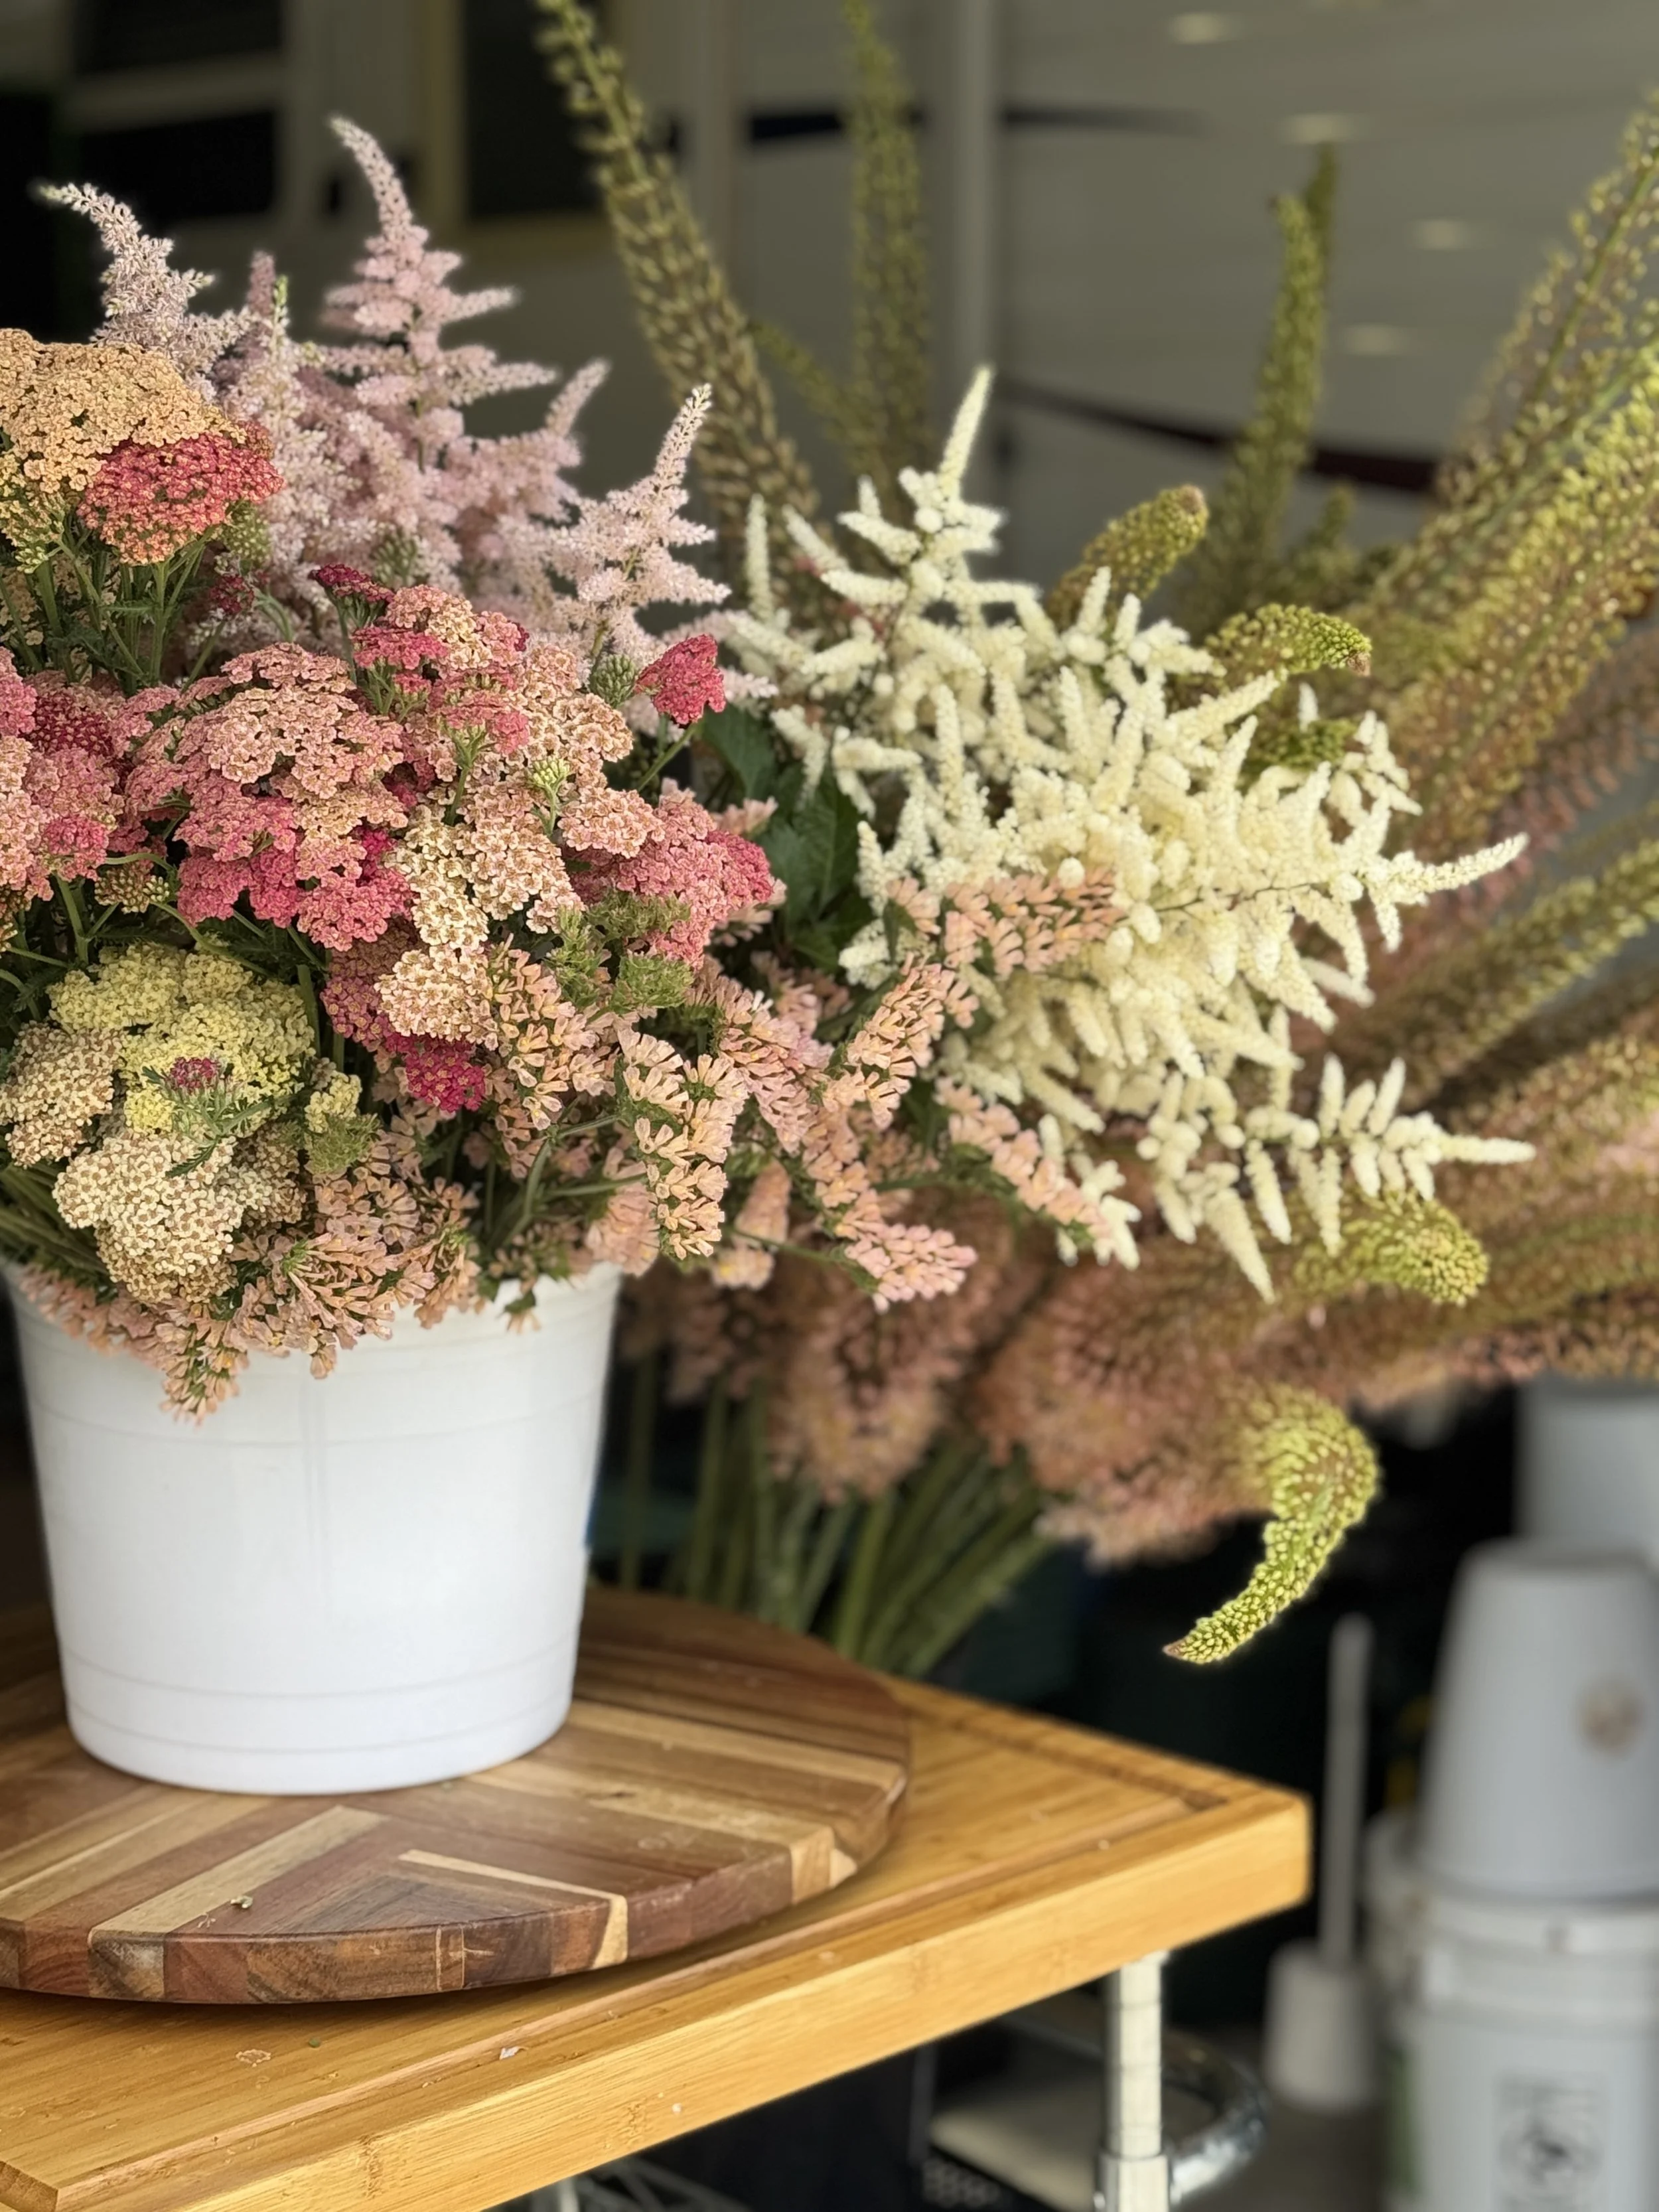
How Long Are the Stems in DIY Wedding Flower Buckets?
One of the most overlooked DIY wedding flower questions is stem length. Here’s what brides should know about vase sizing, floral foam, and what to expect from locally grown DIY flower buckets.
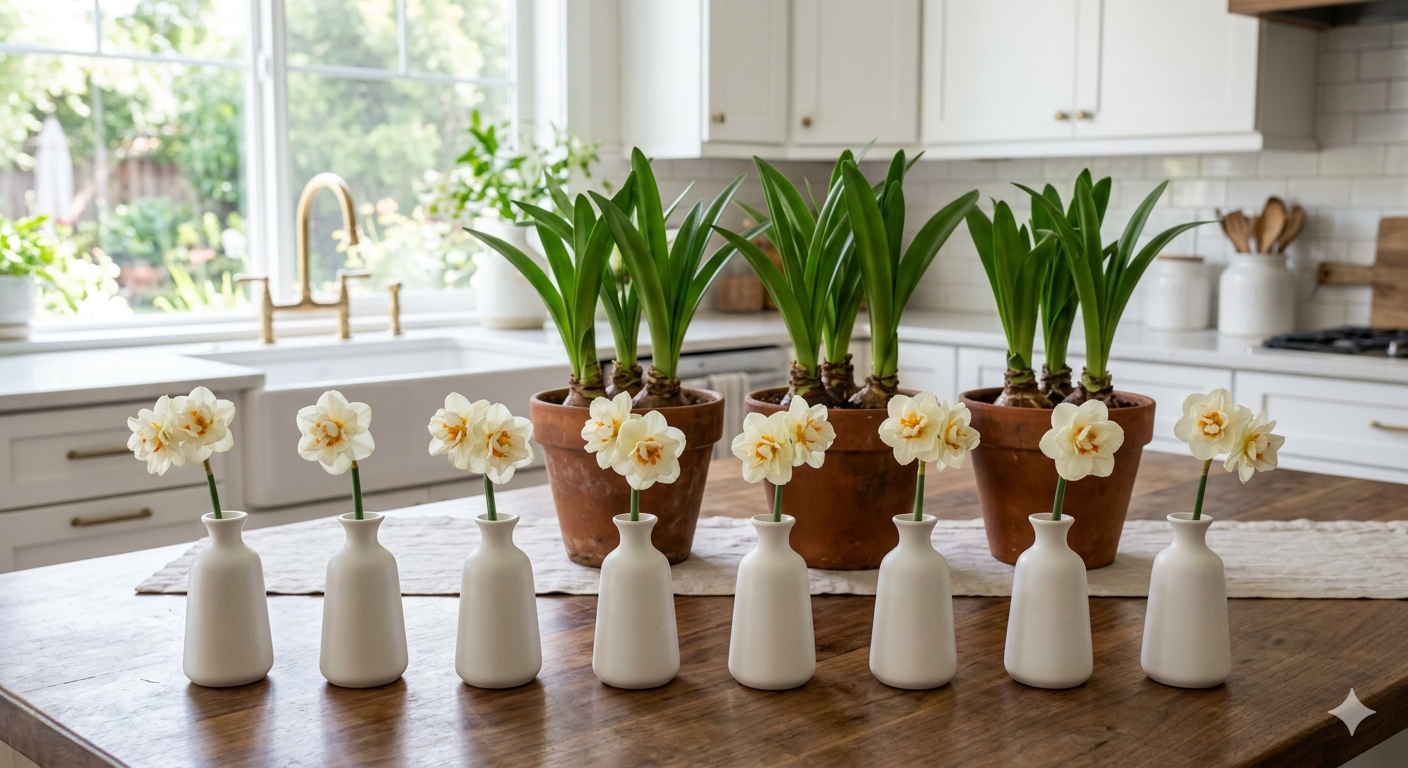
I Tried 8 Flower Vase Hacks So You Don’t Have To
There’s a whole field of folklore around how to make flowers last longer—from pennies to soda to sugar. I tested 8 of the most popular vase life hacks using fresh-cut narcissus to see what actually works. Some surprised me… and some failed fast.
Why Seasonal Flowers Feel Like a Reset Button (and Why We Keep Coming Back to Them)
There’s something about seasonal flowers that makes life feel a little lighter. In this gentle, science-backed blog post, Ella June Gardens explores why fresh blooms help us slow down, smile, and reconnect with beauty in the middle of full, busy lives.

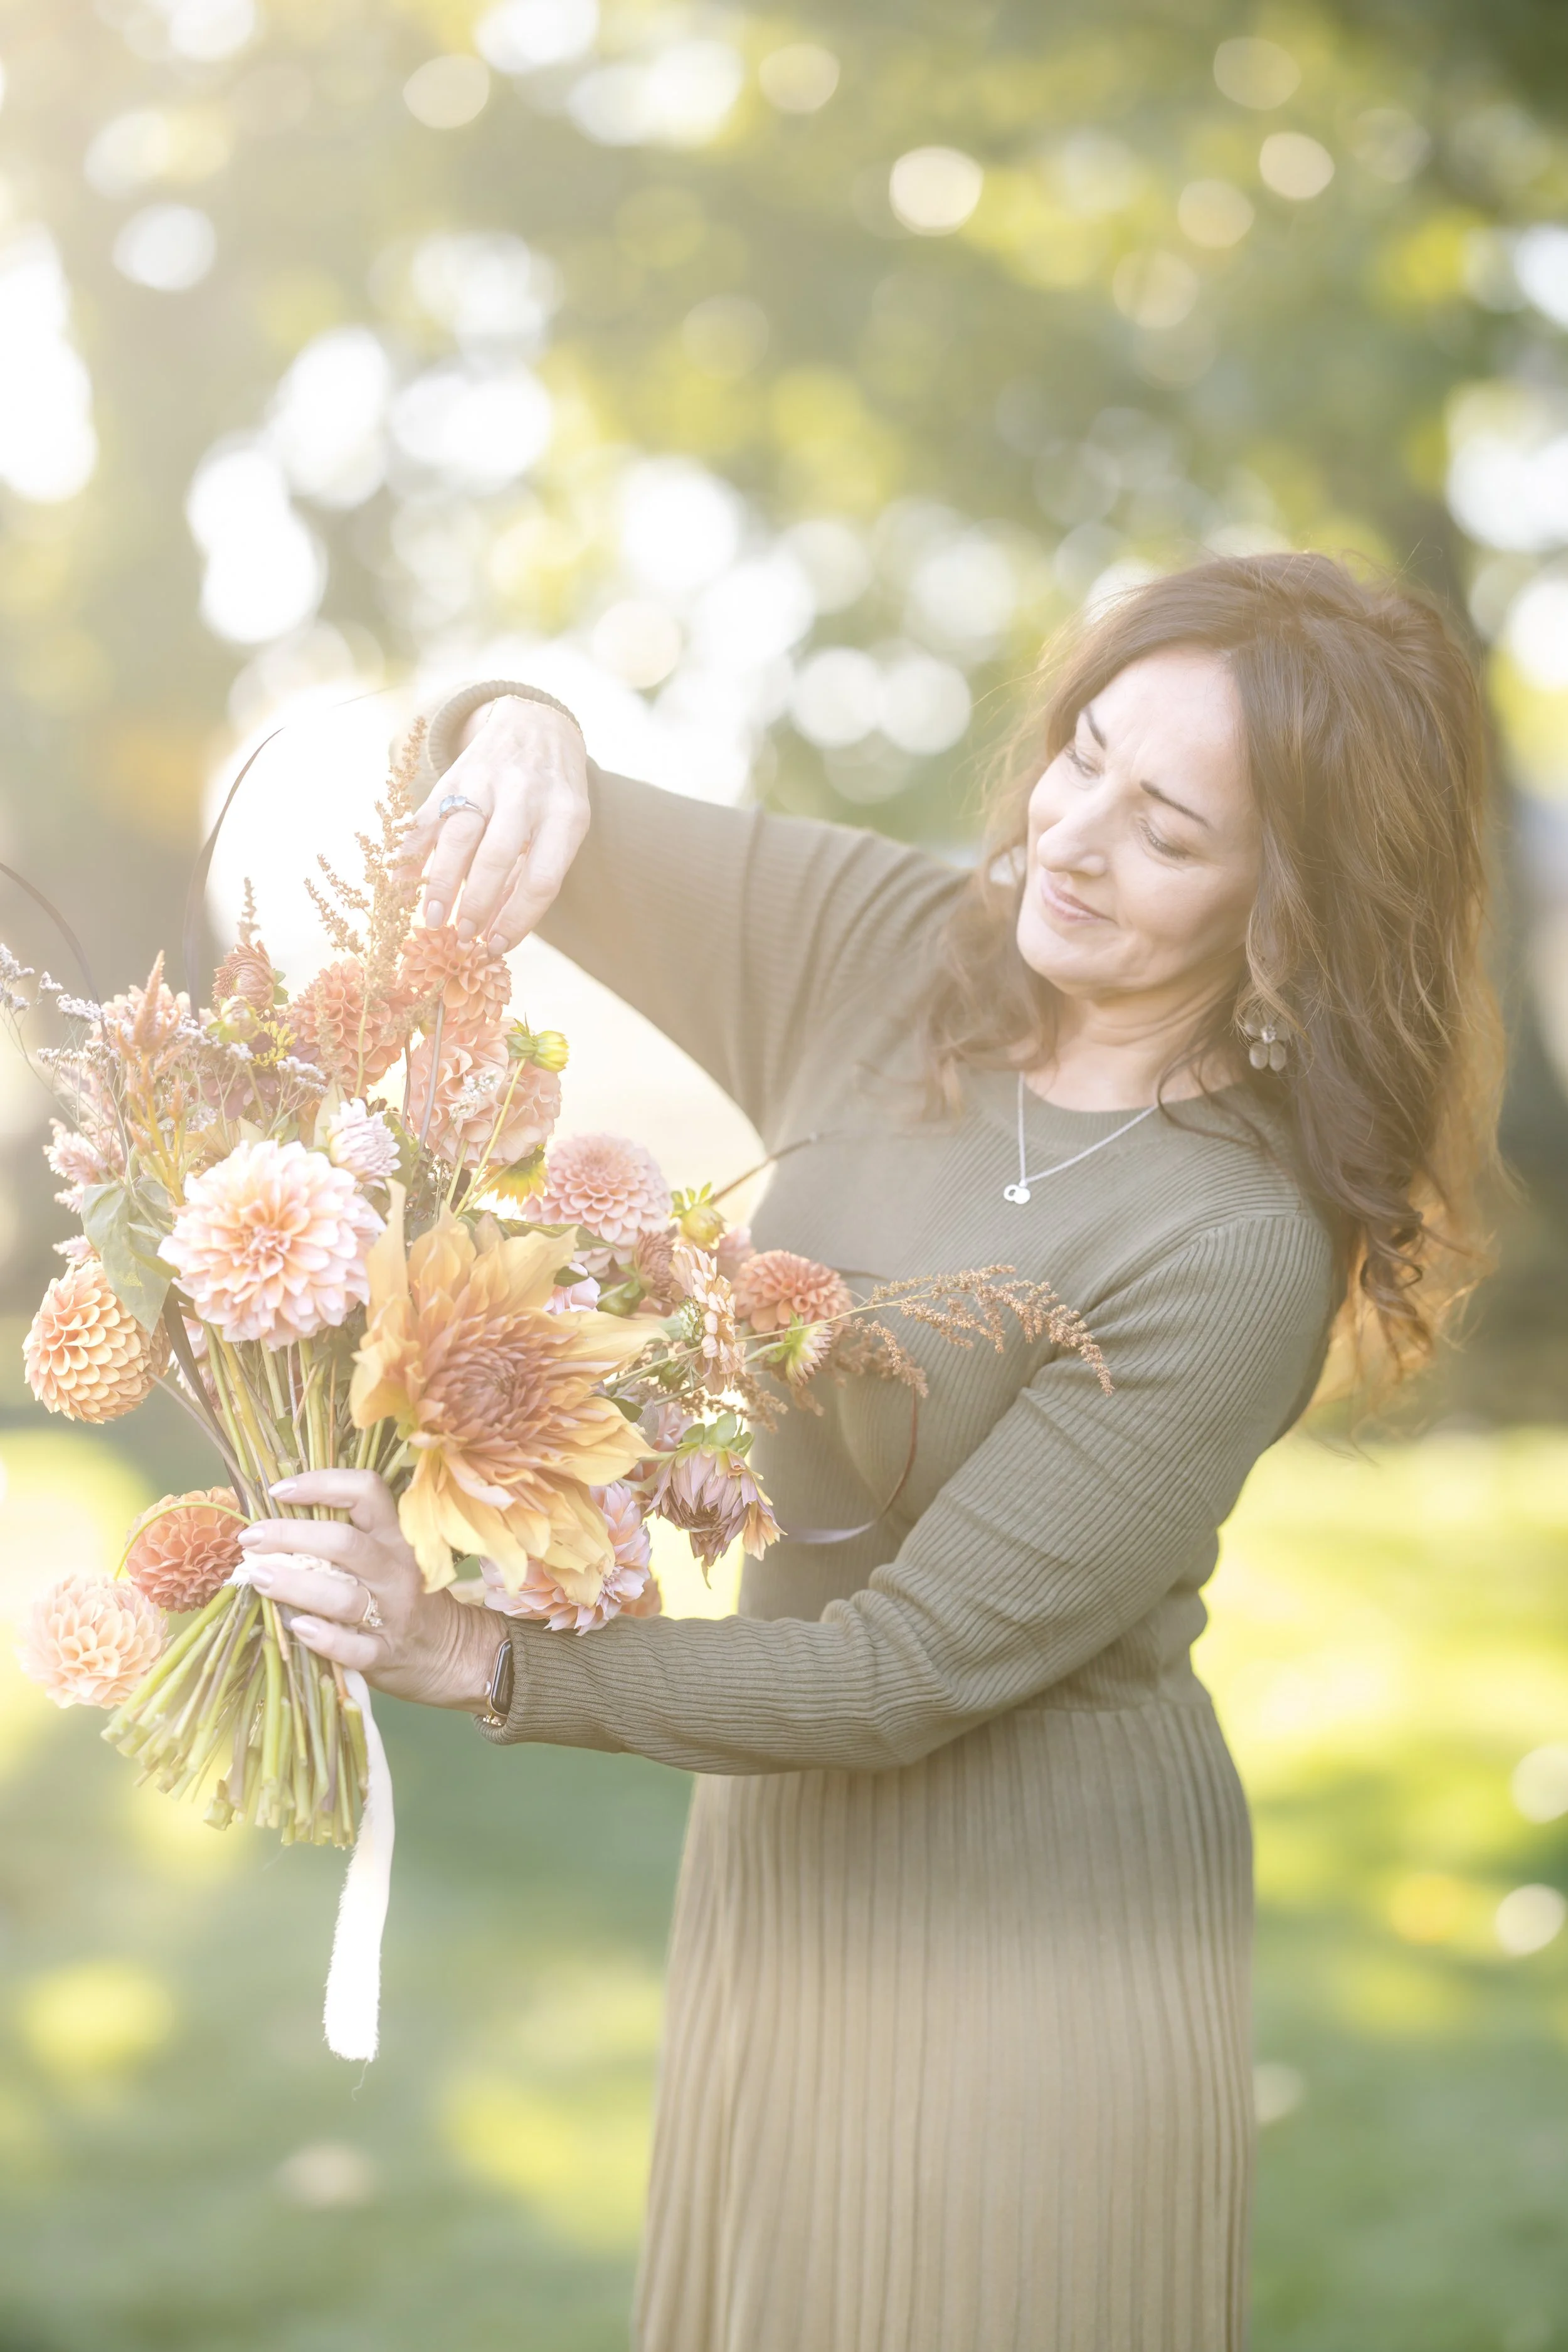
Should You DIY Your Wedding Flowers?
Not sure whether to DIY your wedding flowers or hire help? These 5 honest questions will help you choose the best option for your timeline, budget, and peace of mind.
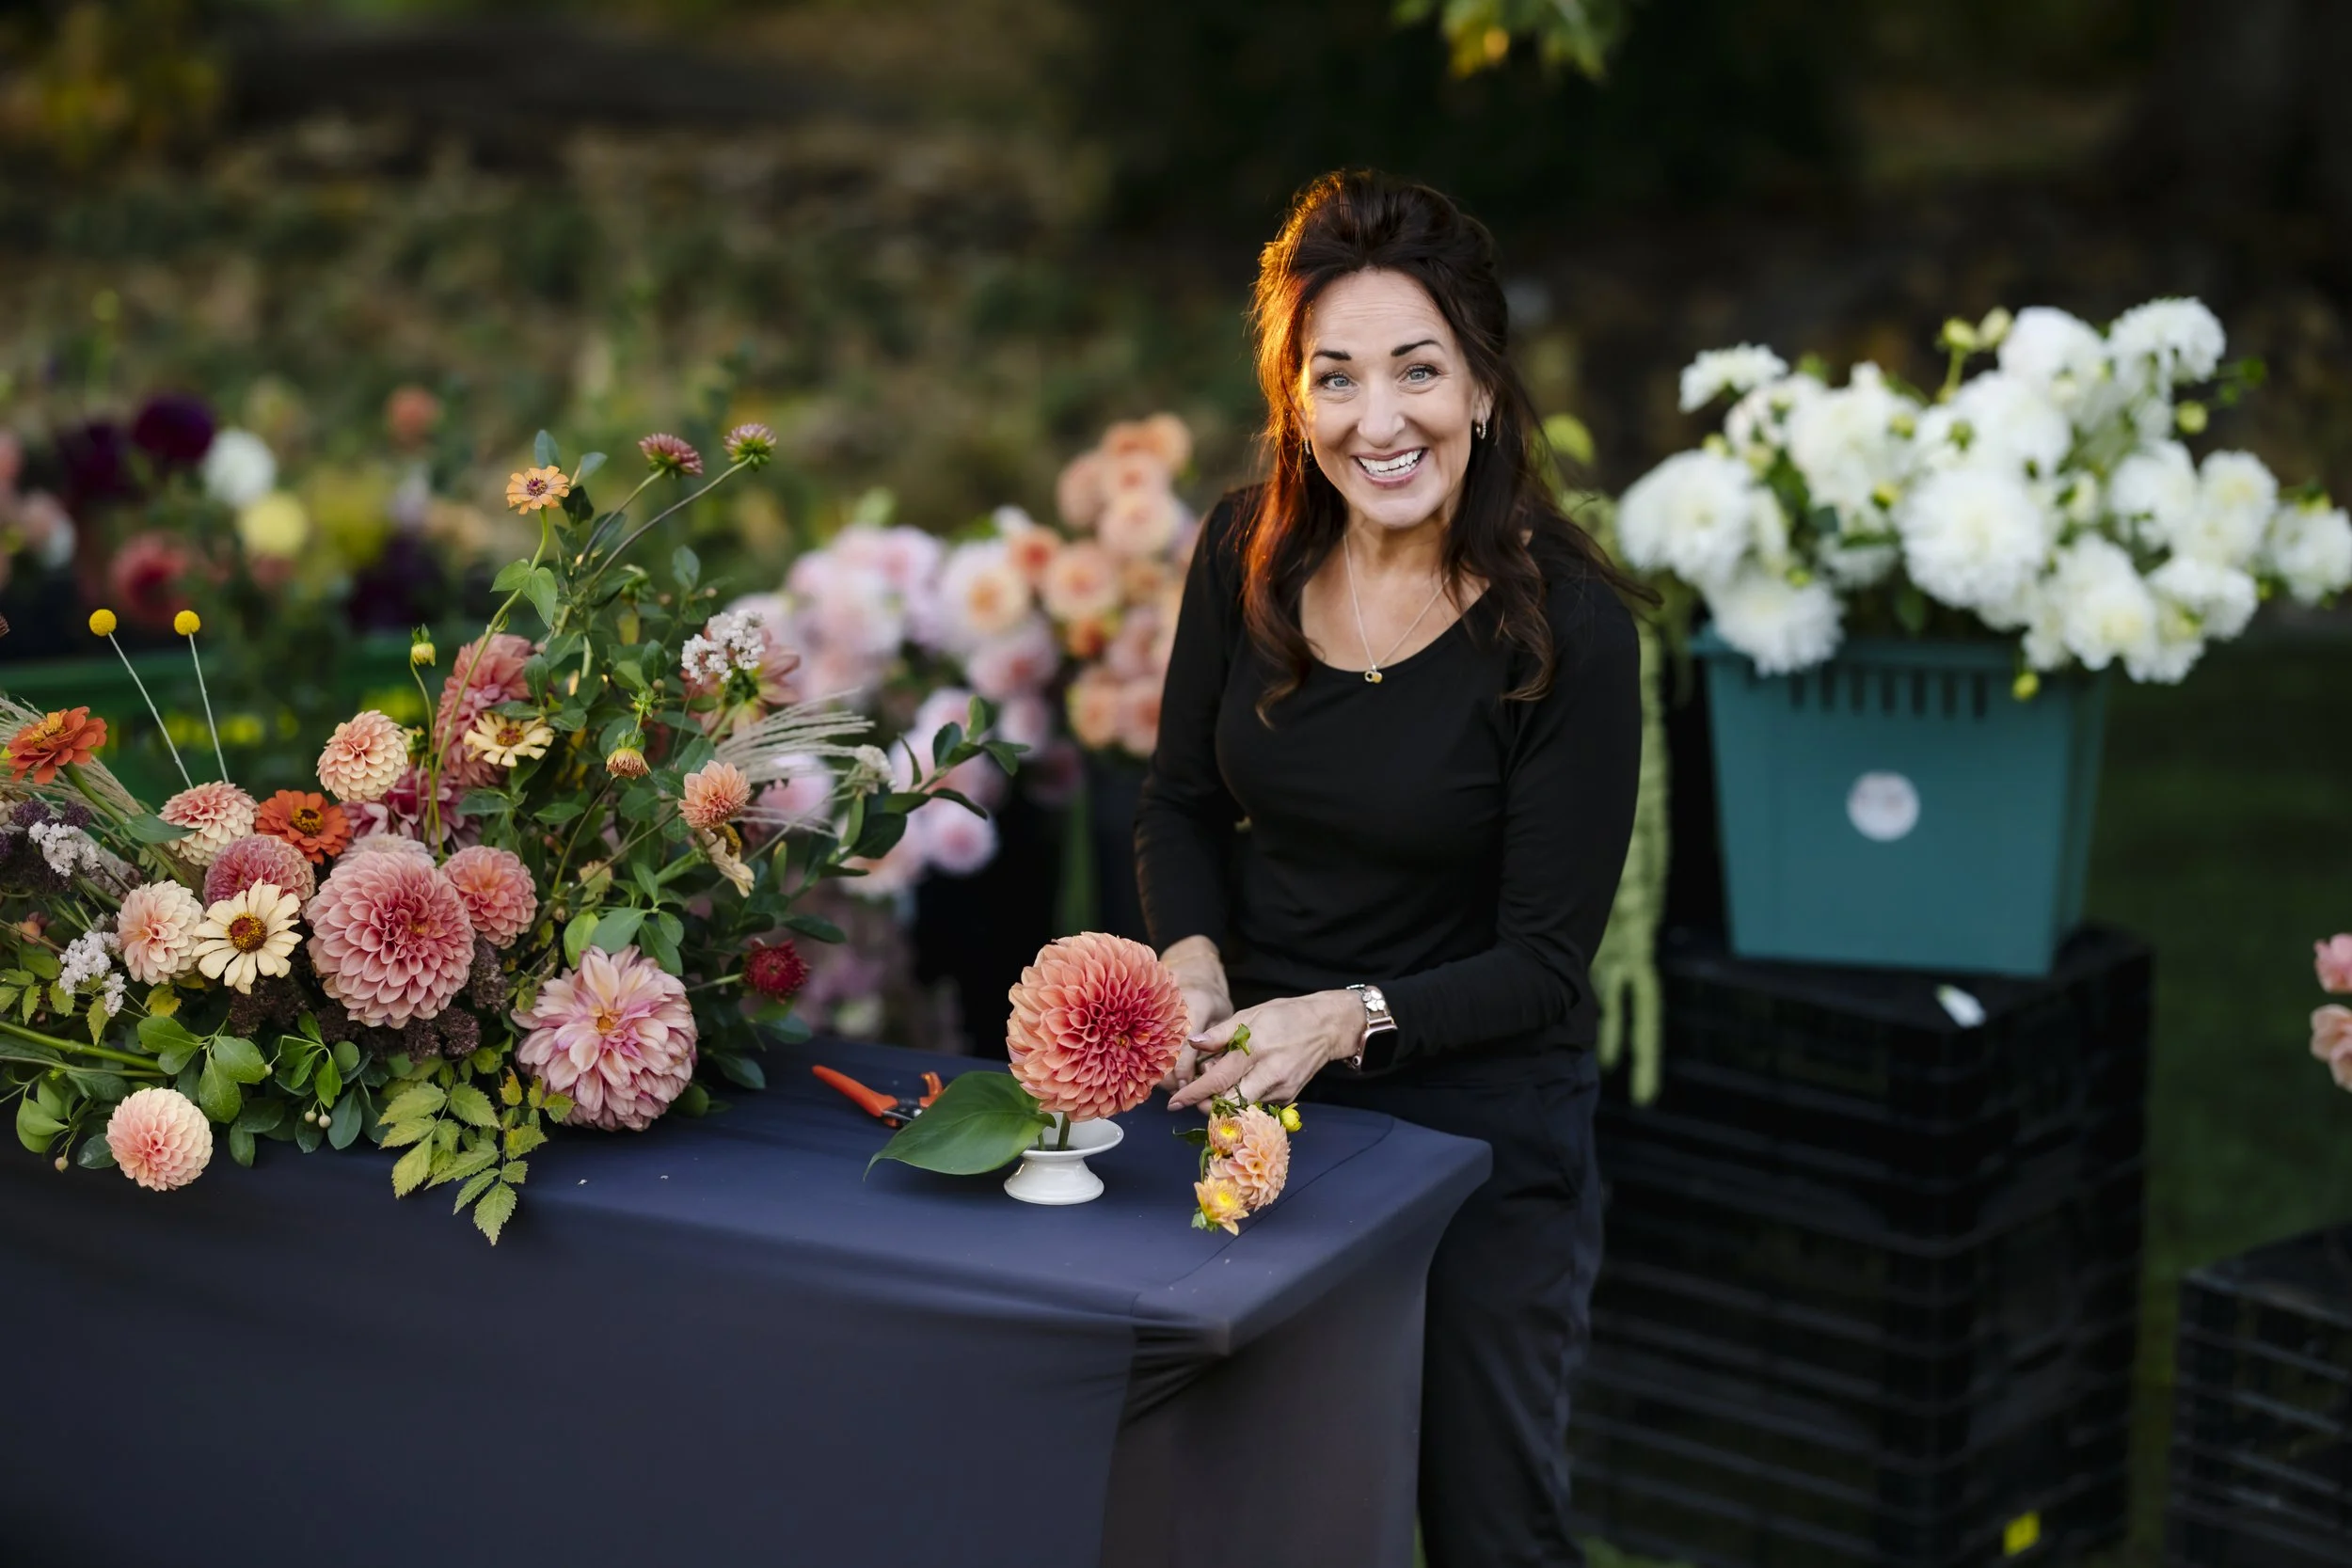
Seasonal Flower Workshops: Why Timing Matters More Than Skill Level
Beautiful flower design isn’t about being creative or experienced — it’s about timing. When flowers are in season, they guide your hands, build confidence, and turn a workshop into a calm, welcoming experience for beginners and flower lovers alike.
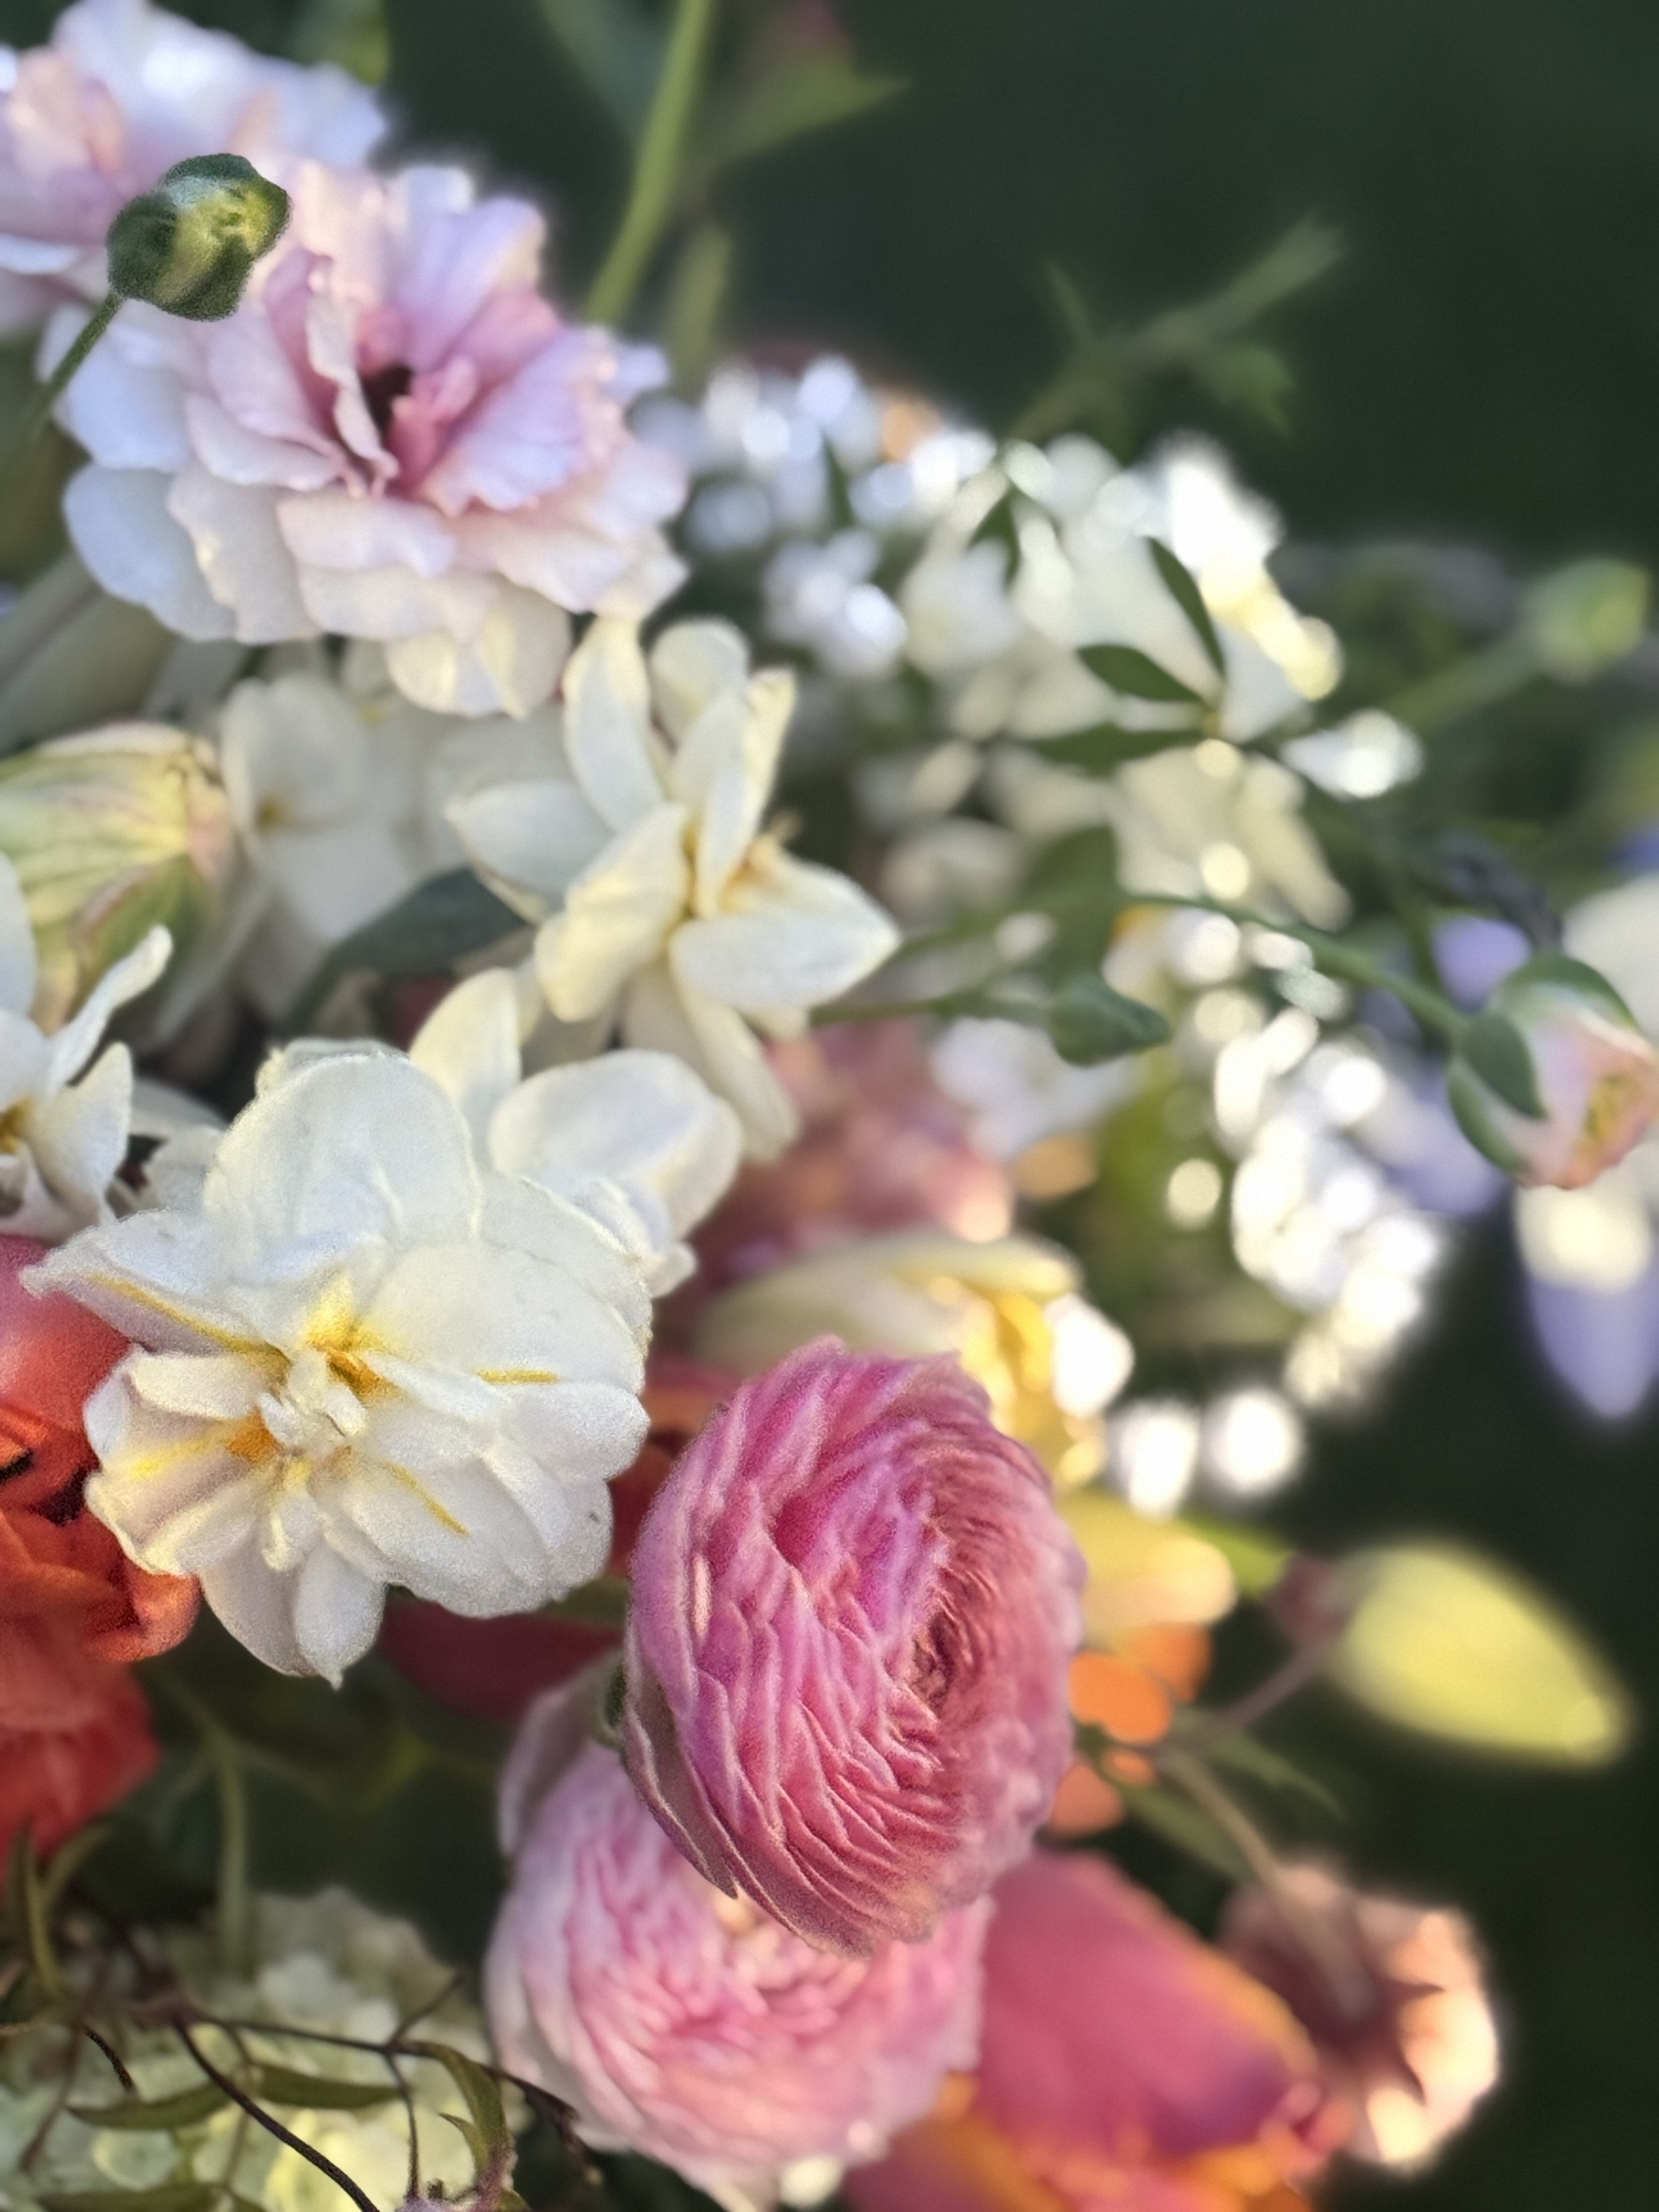
How to Care for Fresh Flowers to Extend Vase Life—and Joy
Fresh flowers don’t arrive at their peak — they open into it. With a few simple care habits, you can help your flowers last longer and quietly return the favor by bringing beauty, ease, and joy into your home.
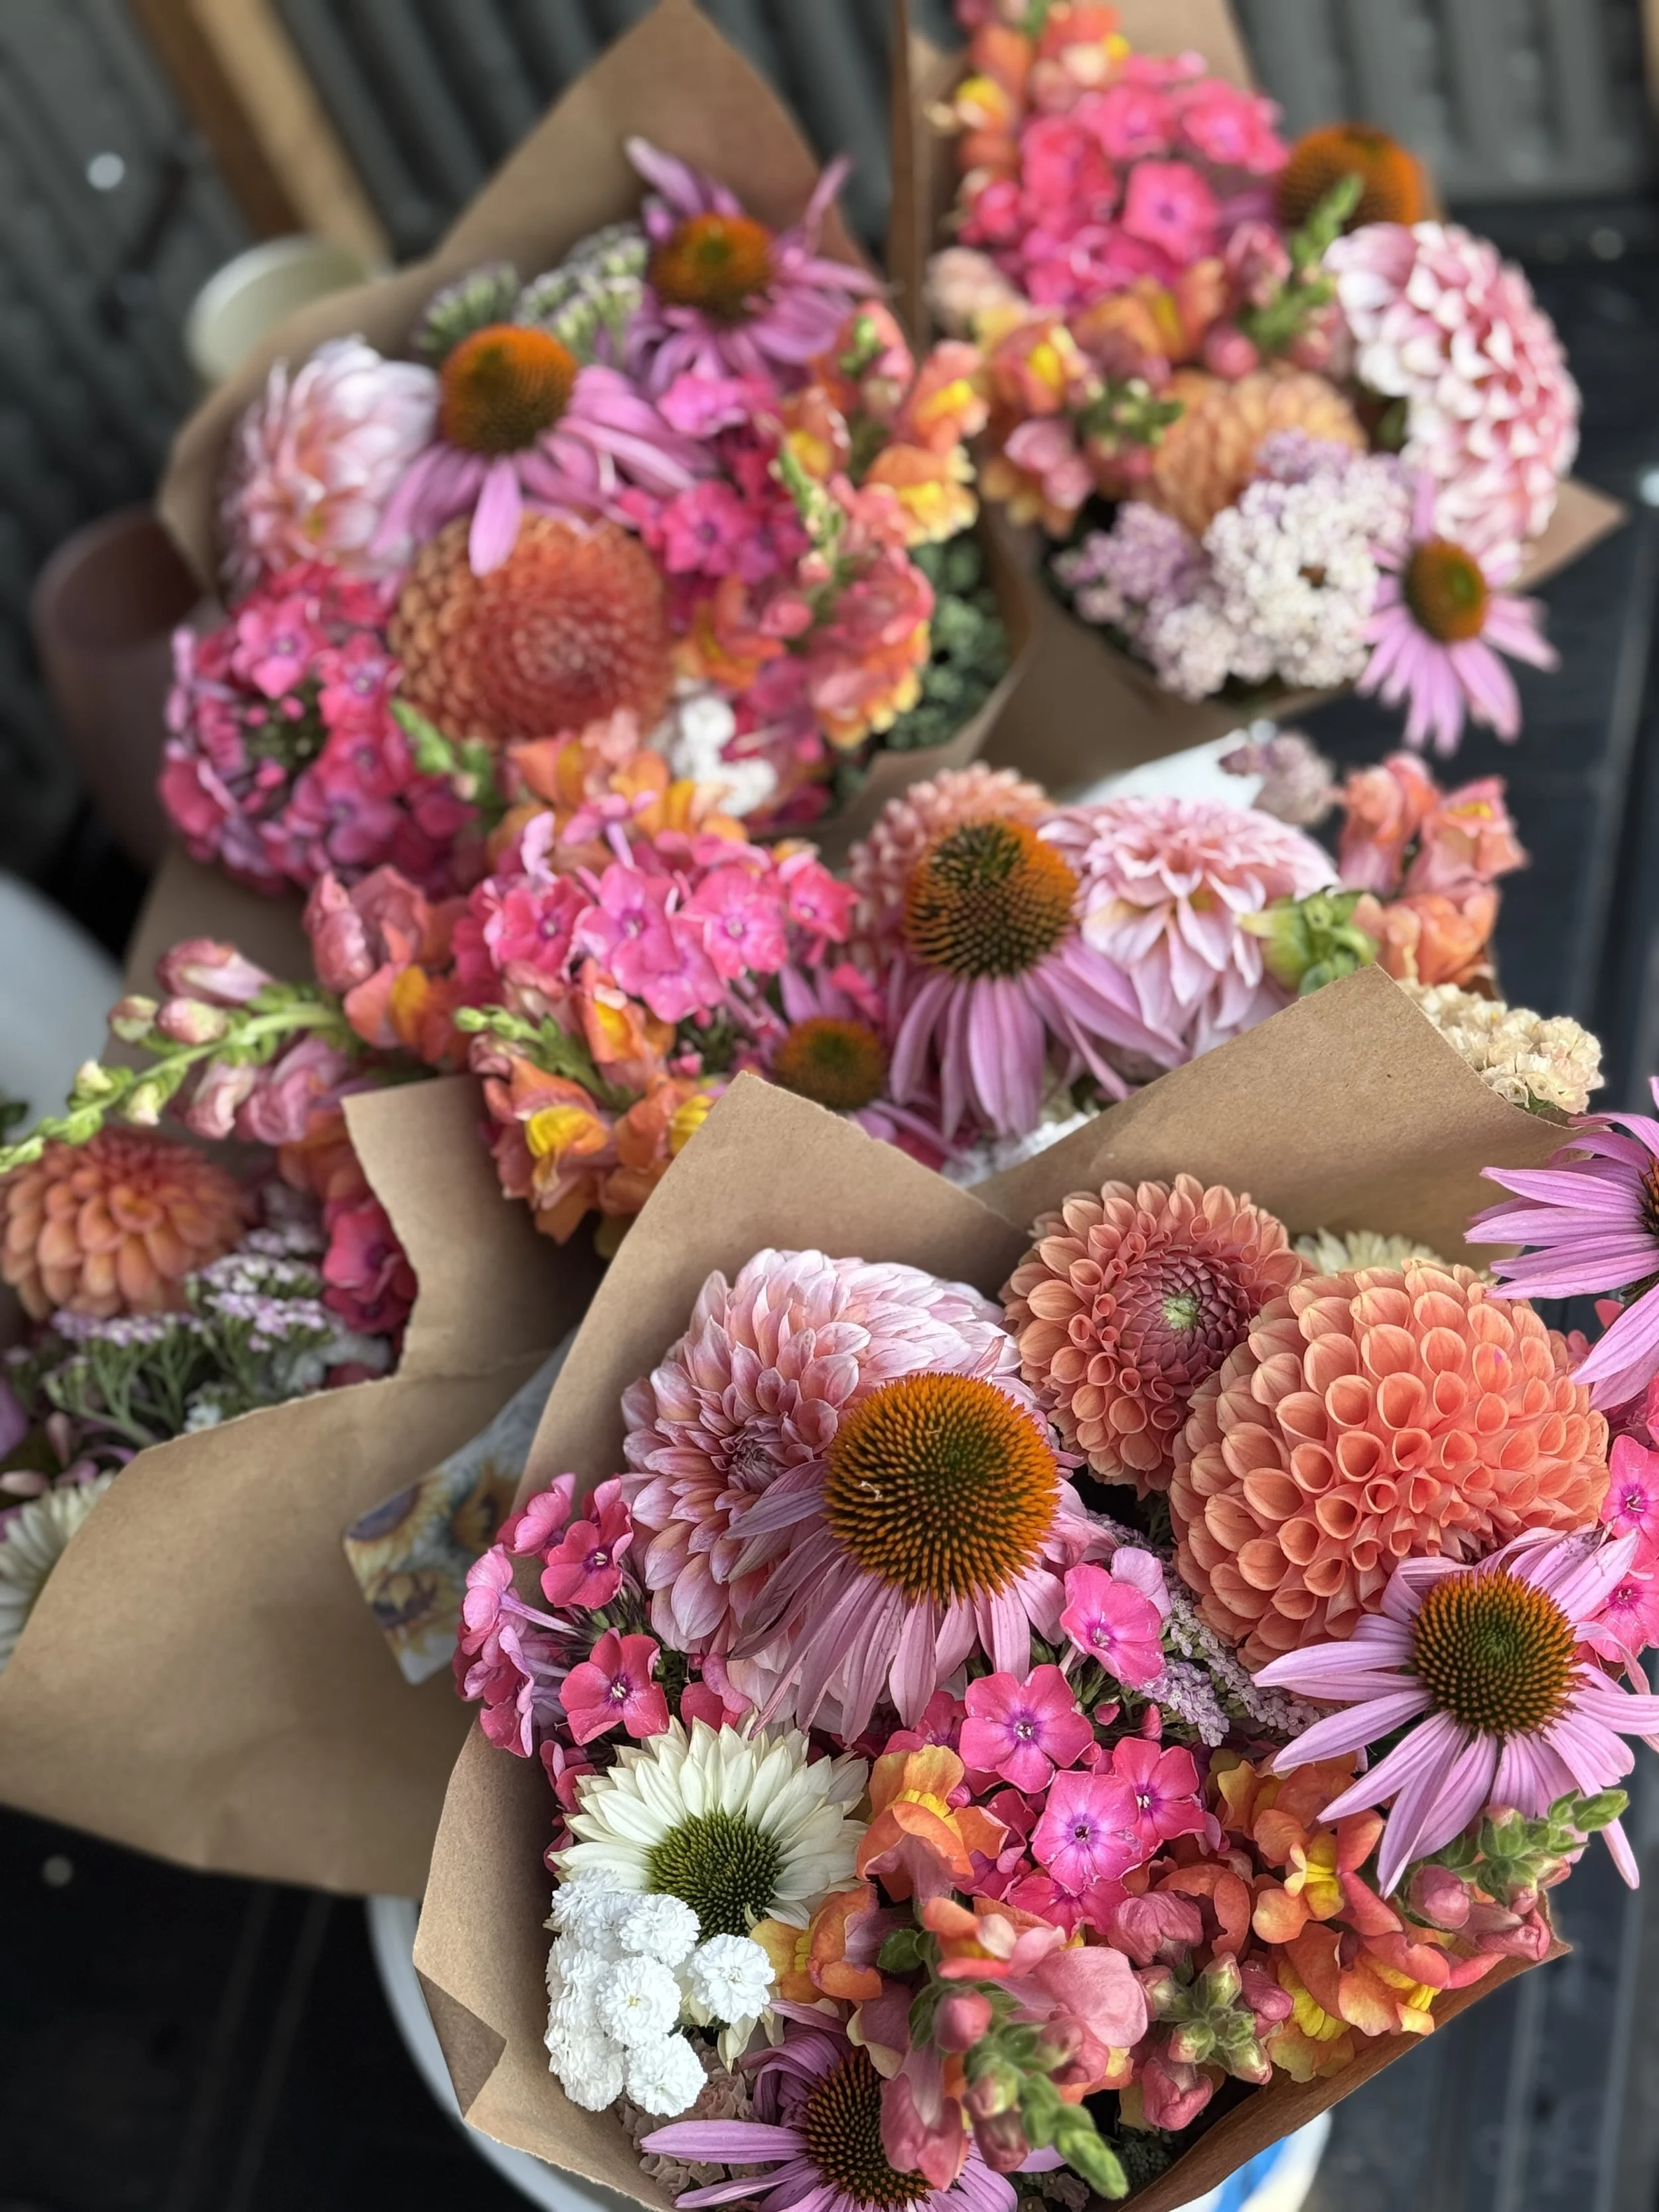
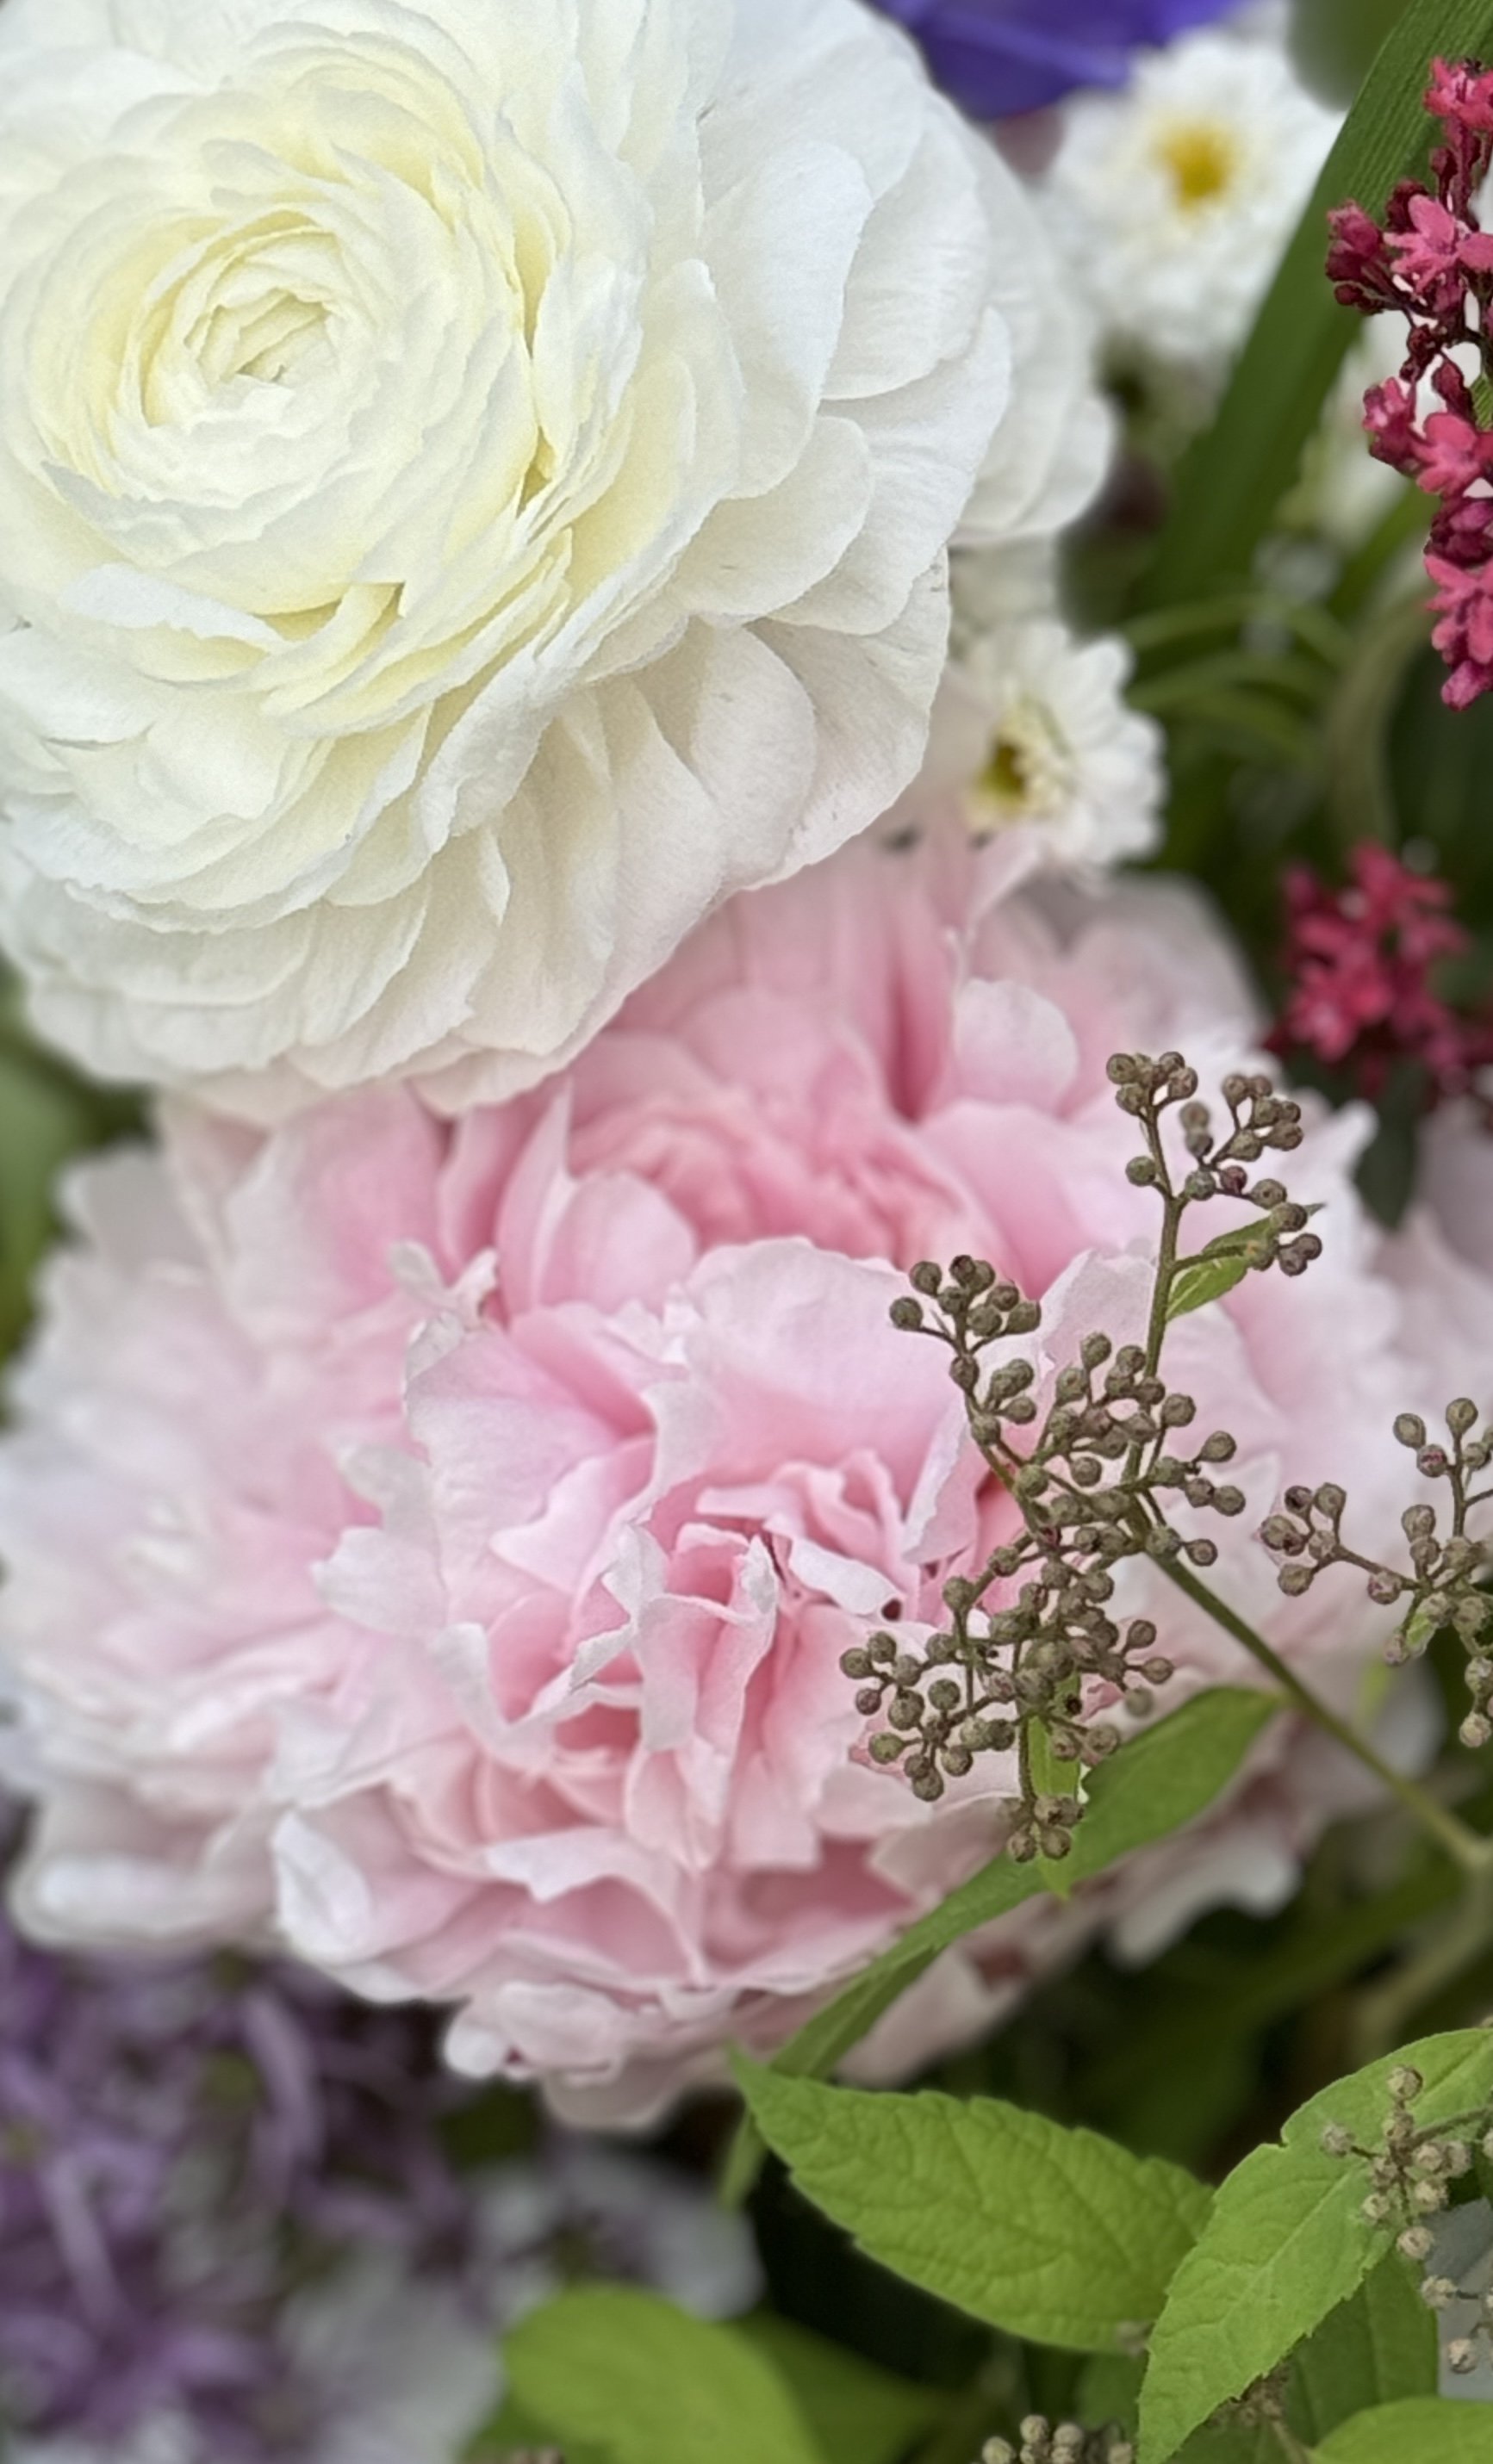
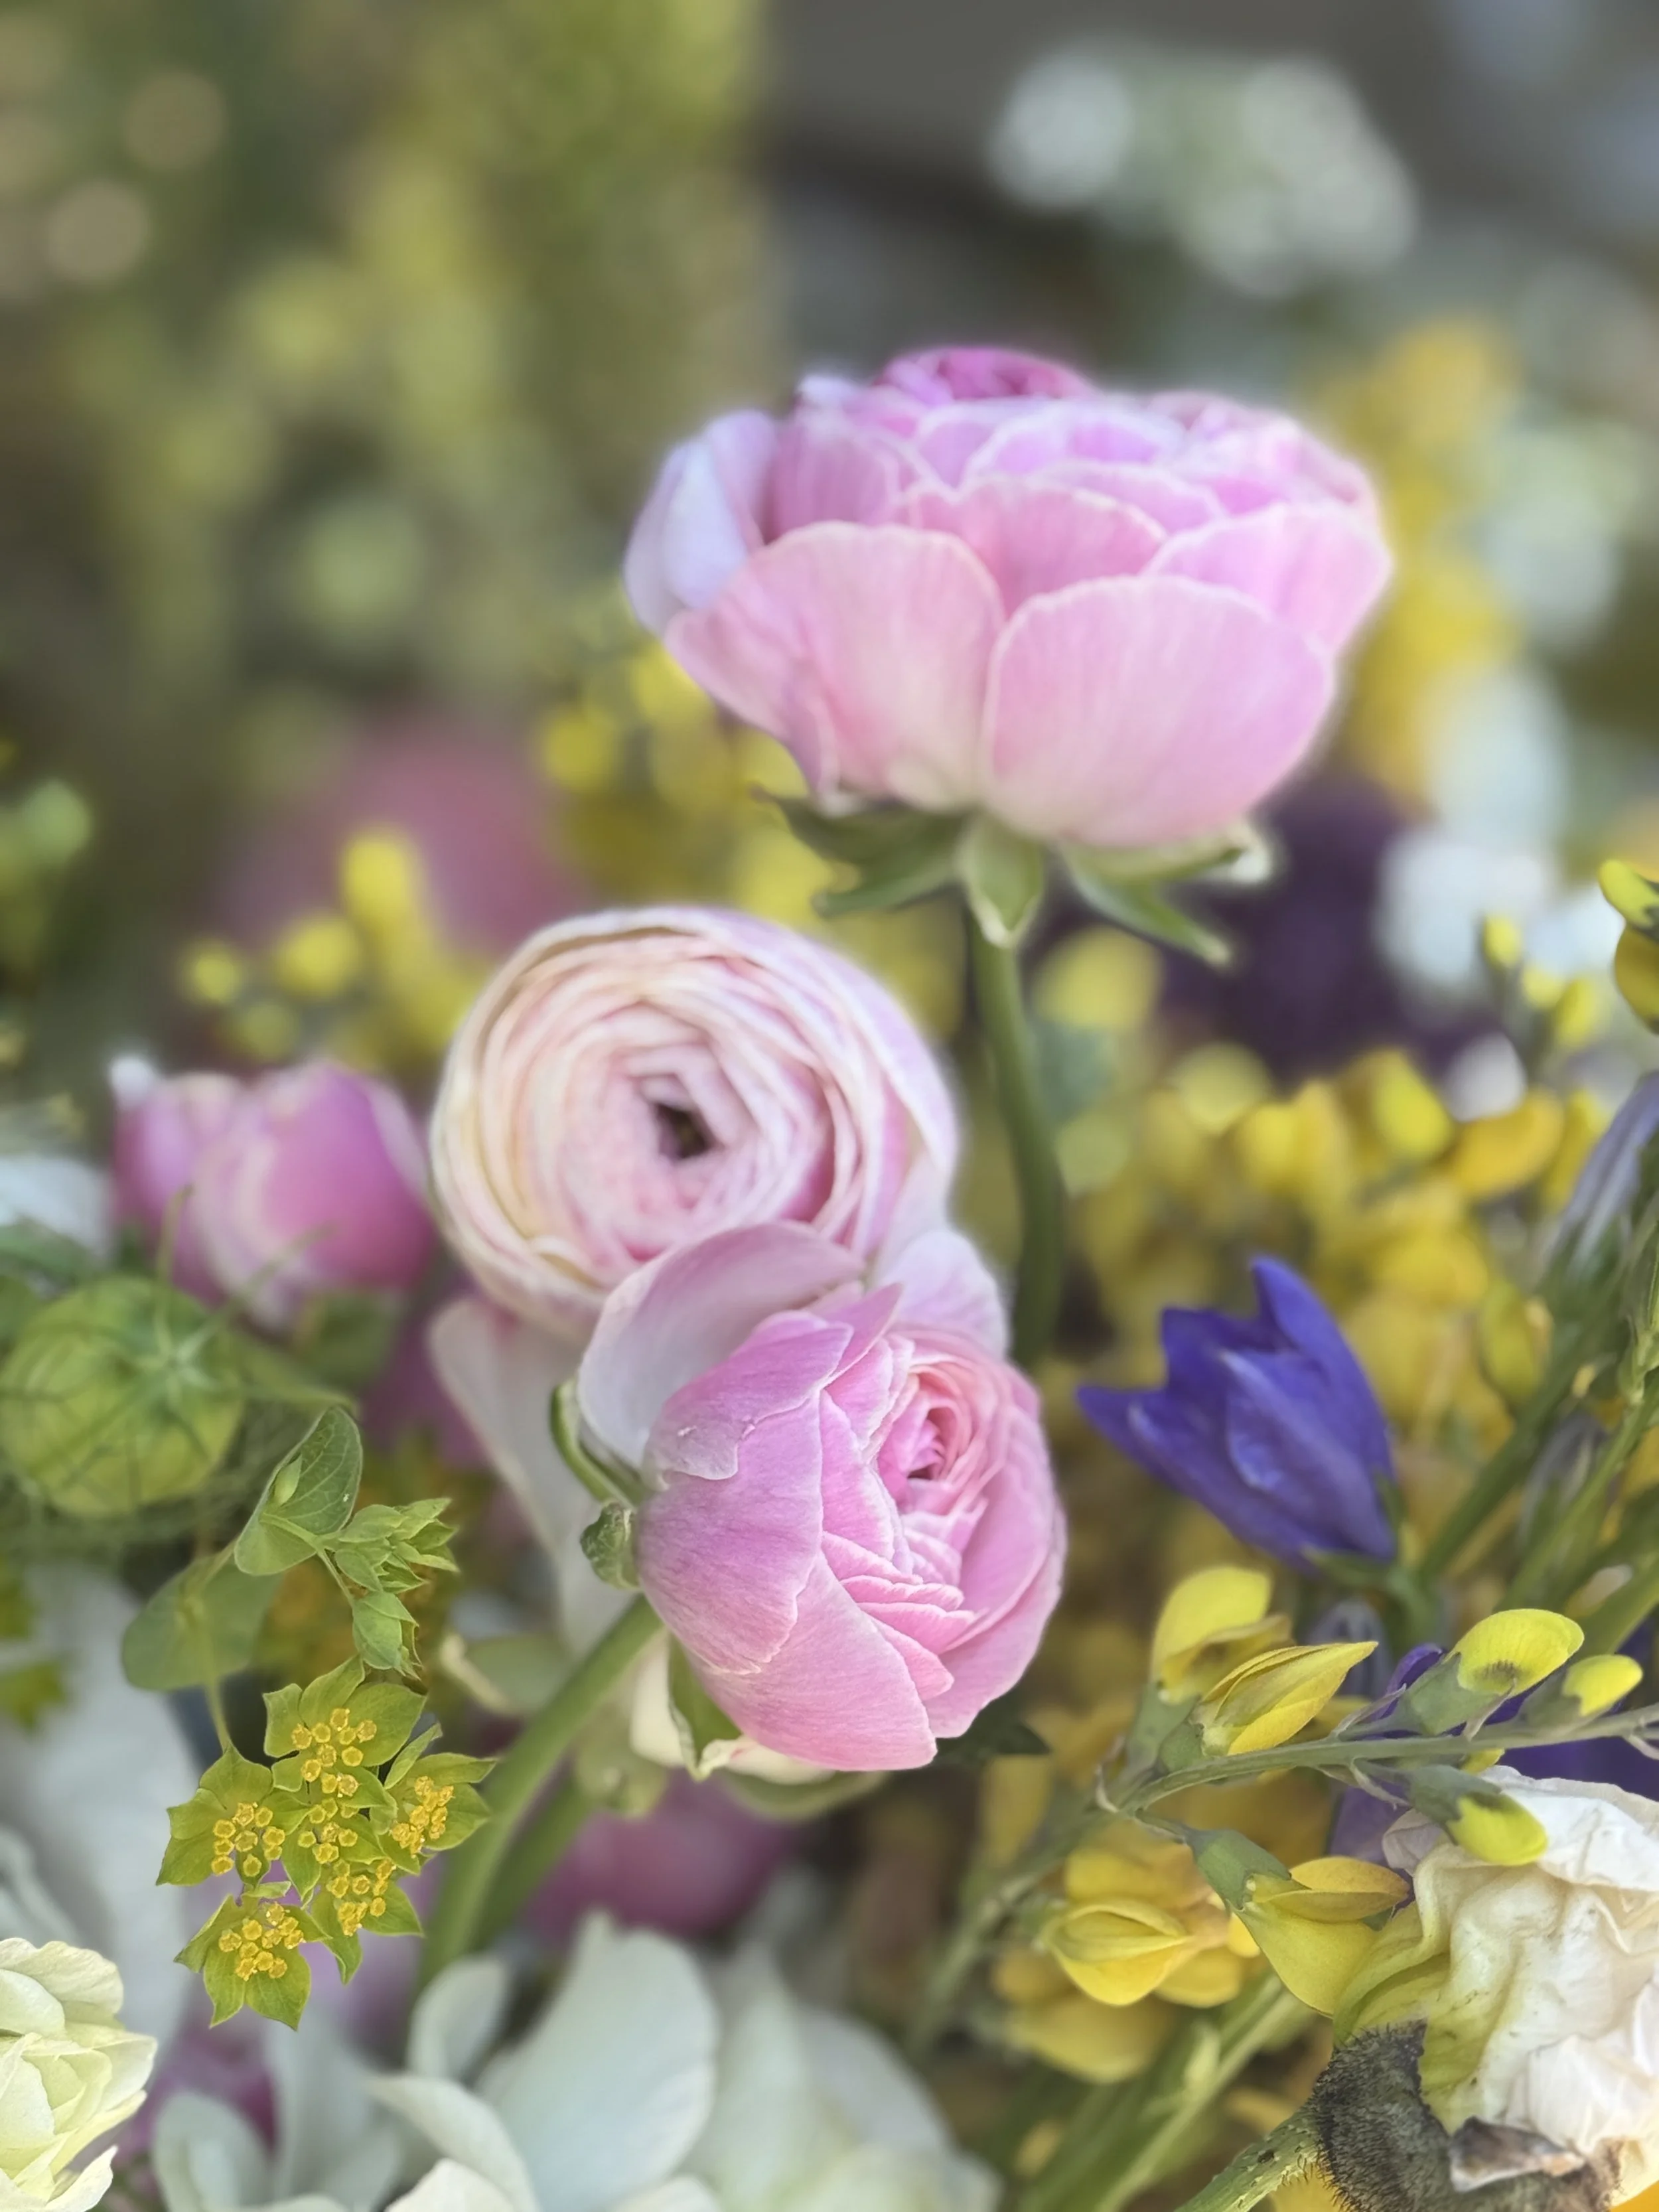
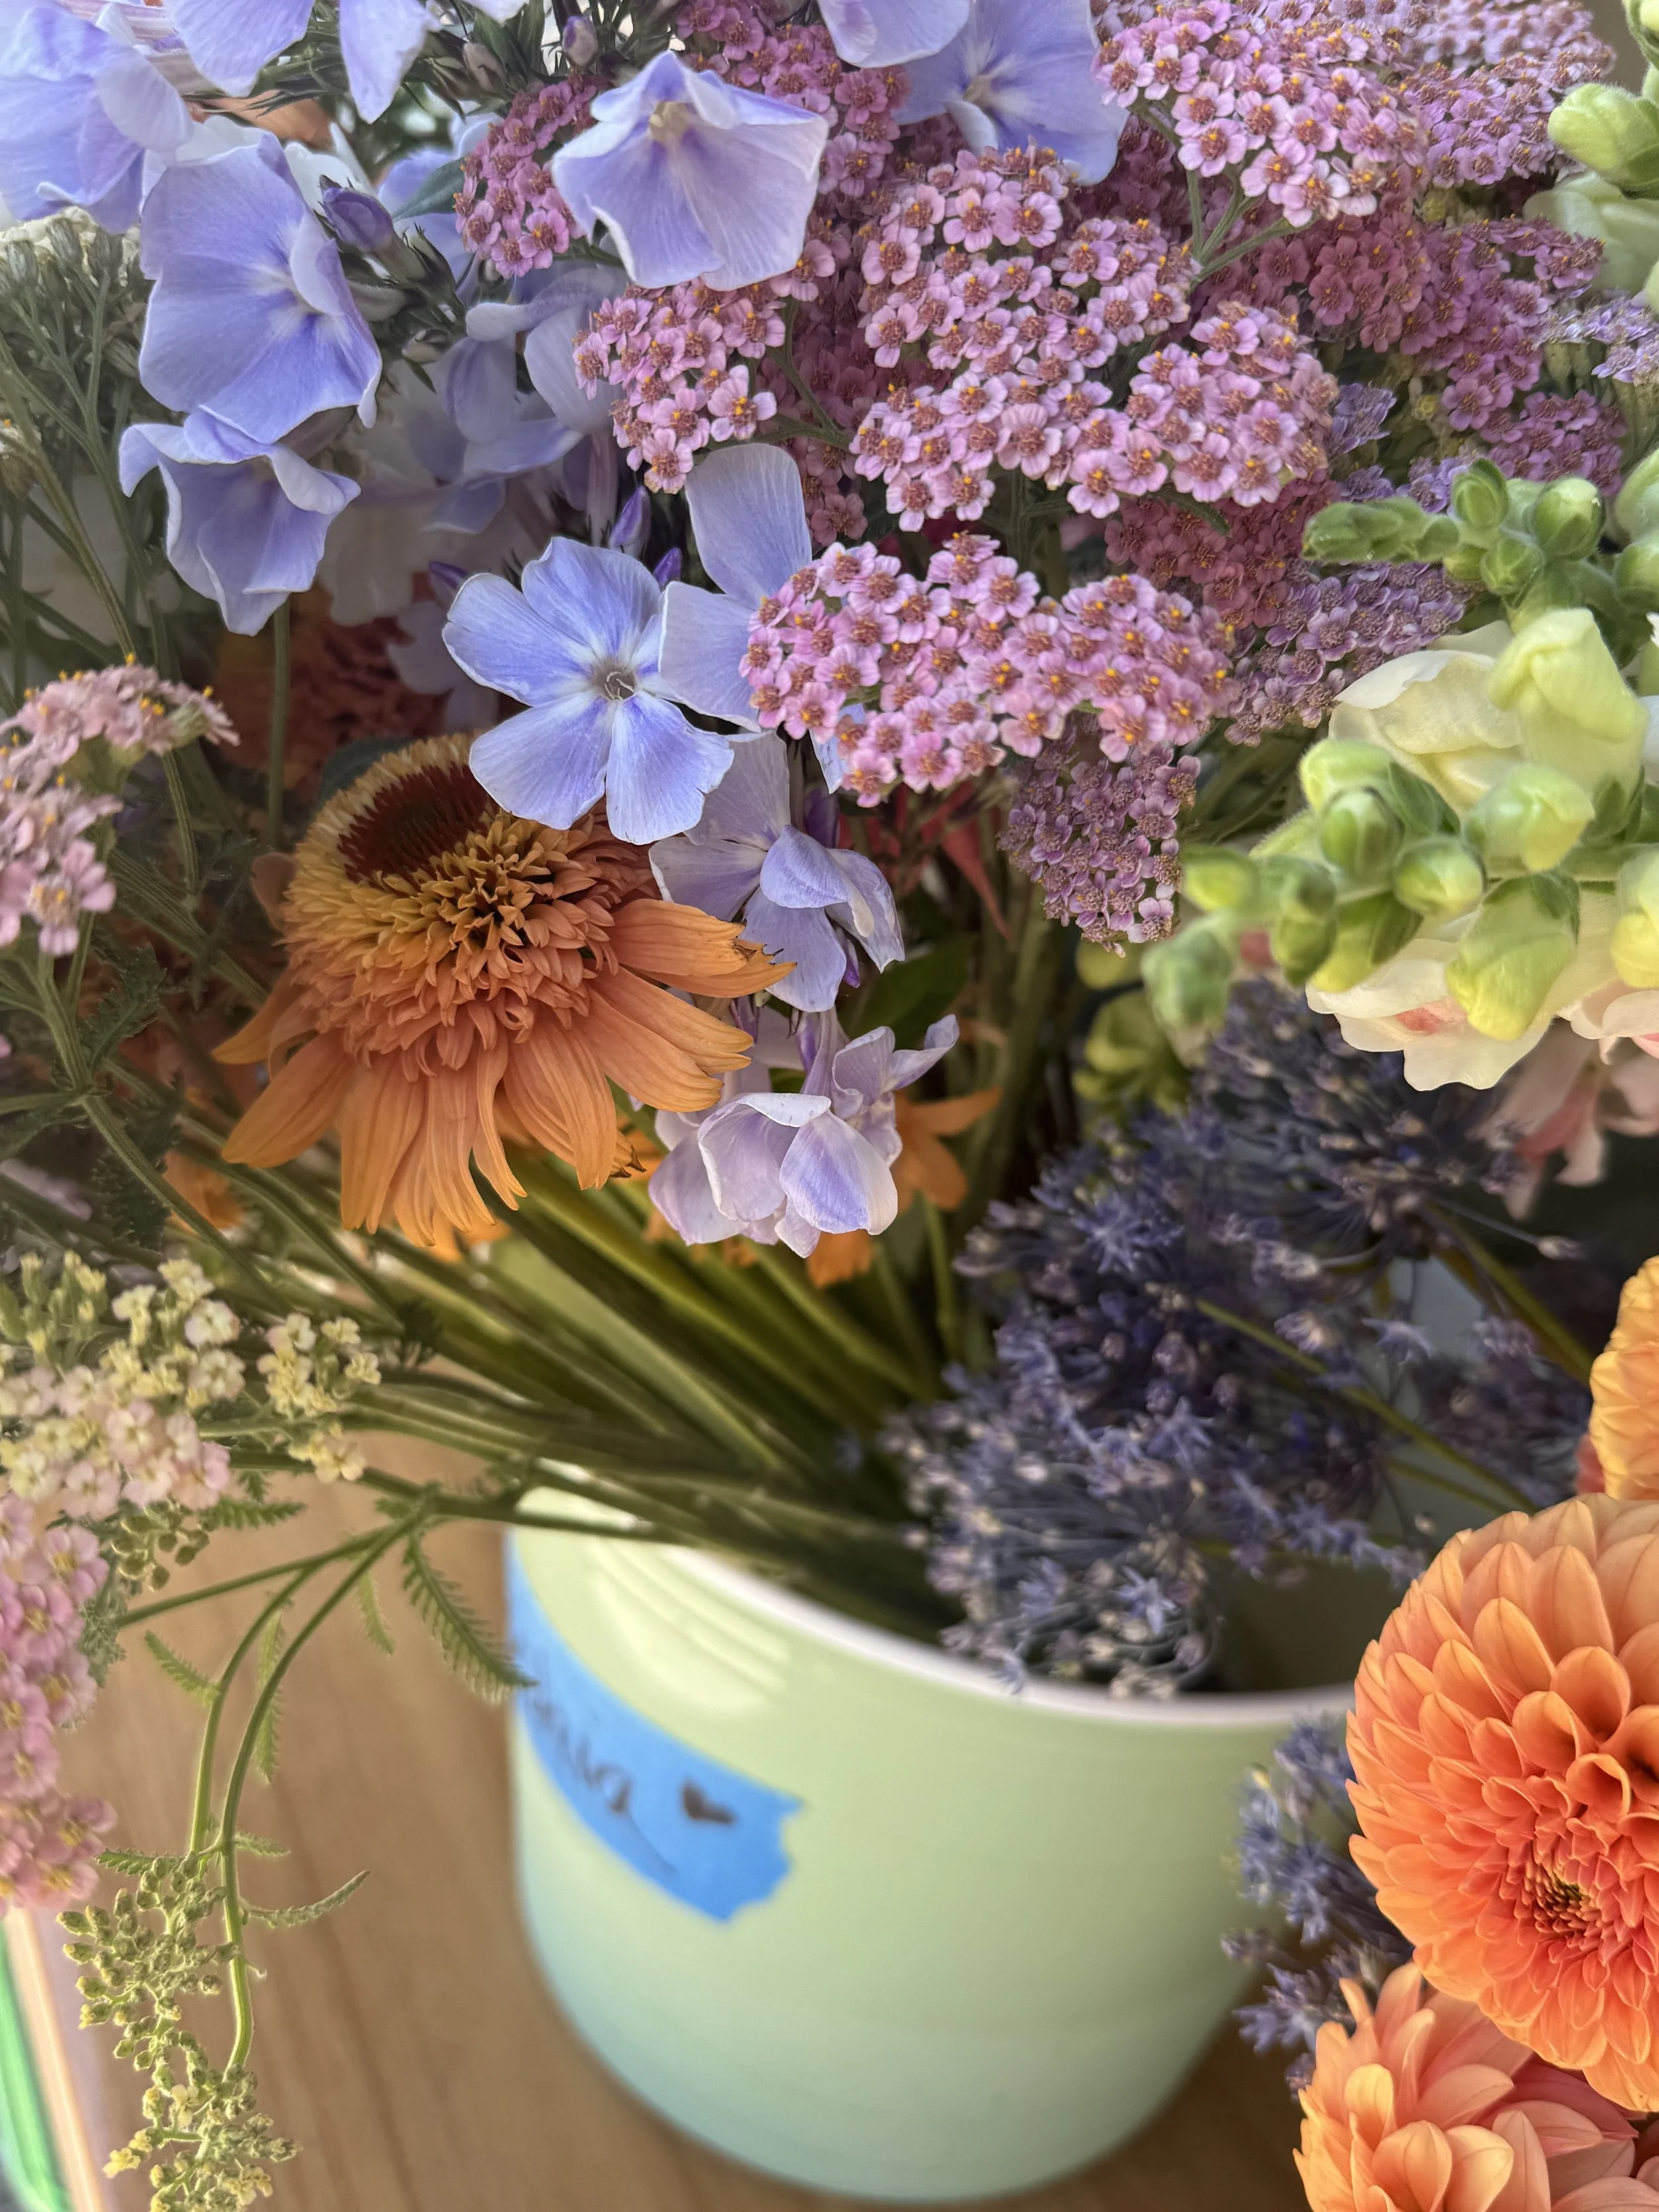
Why Local, Seasonal Flowers Make Your Home Feel Alive
A bell here. A phlox there. Why having seasonal local flowers in your home each week will connect you deeply with nature, ground you in the best way and lift your spirits week after week.
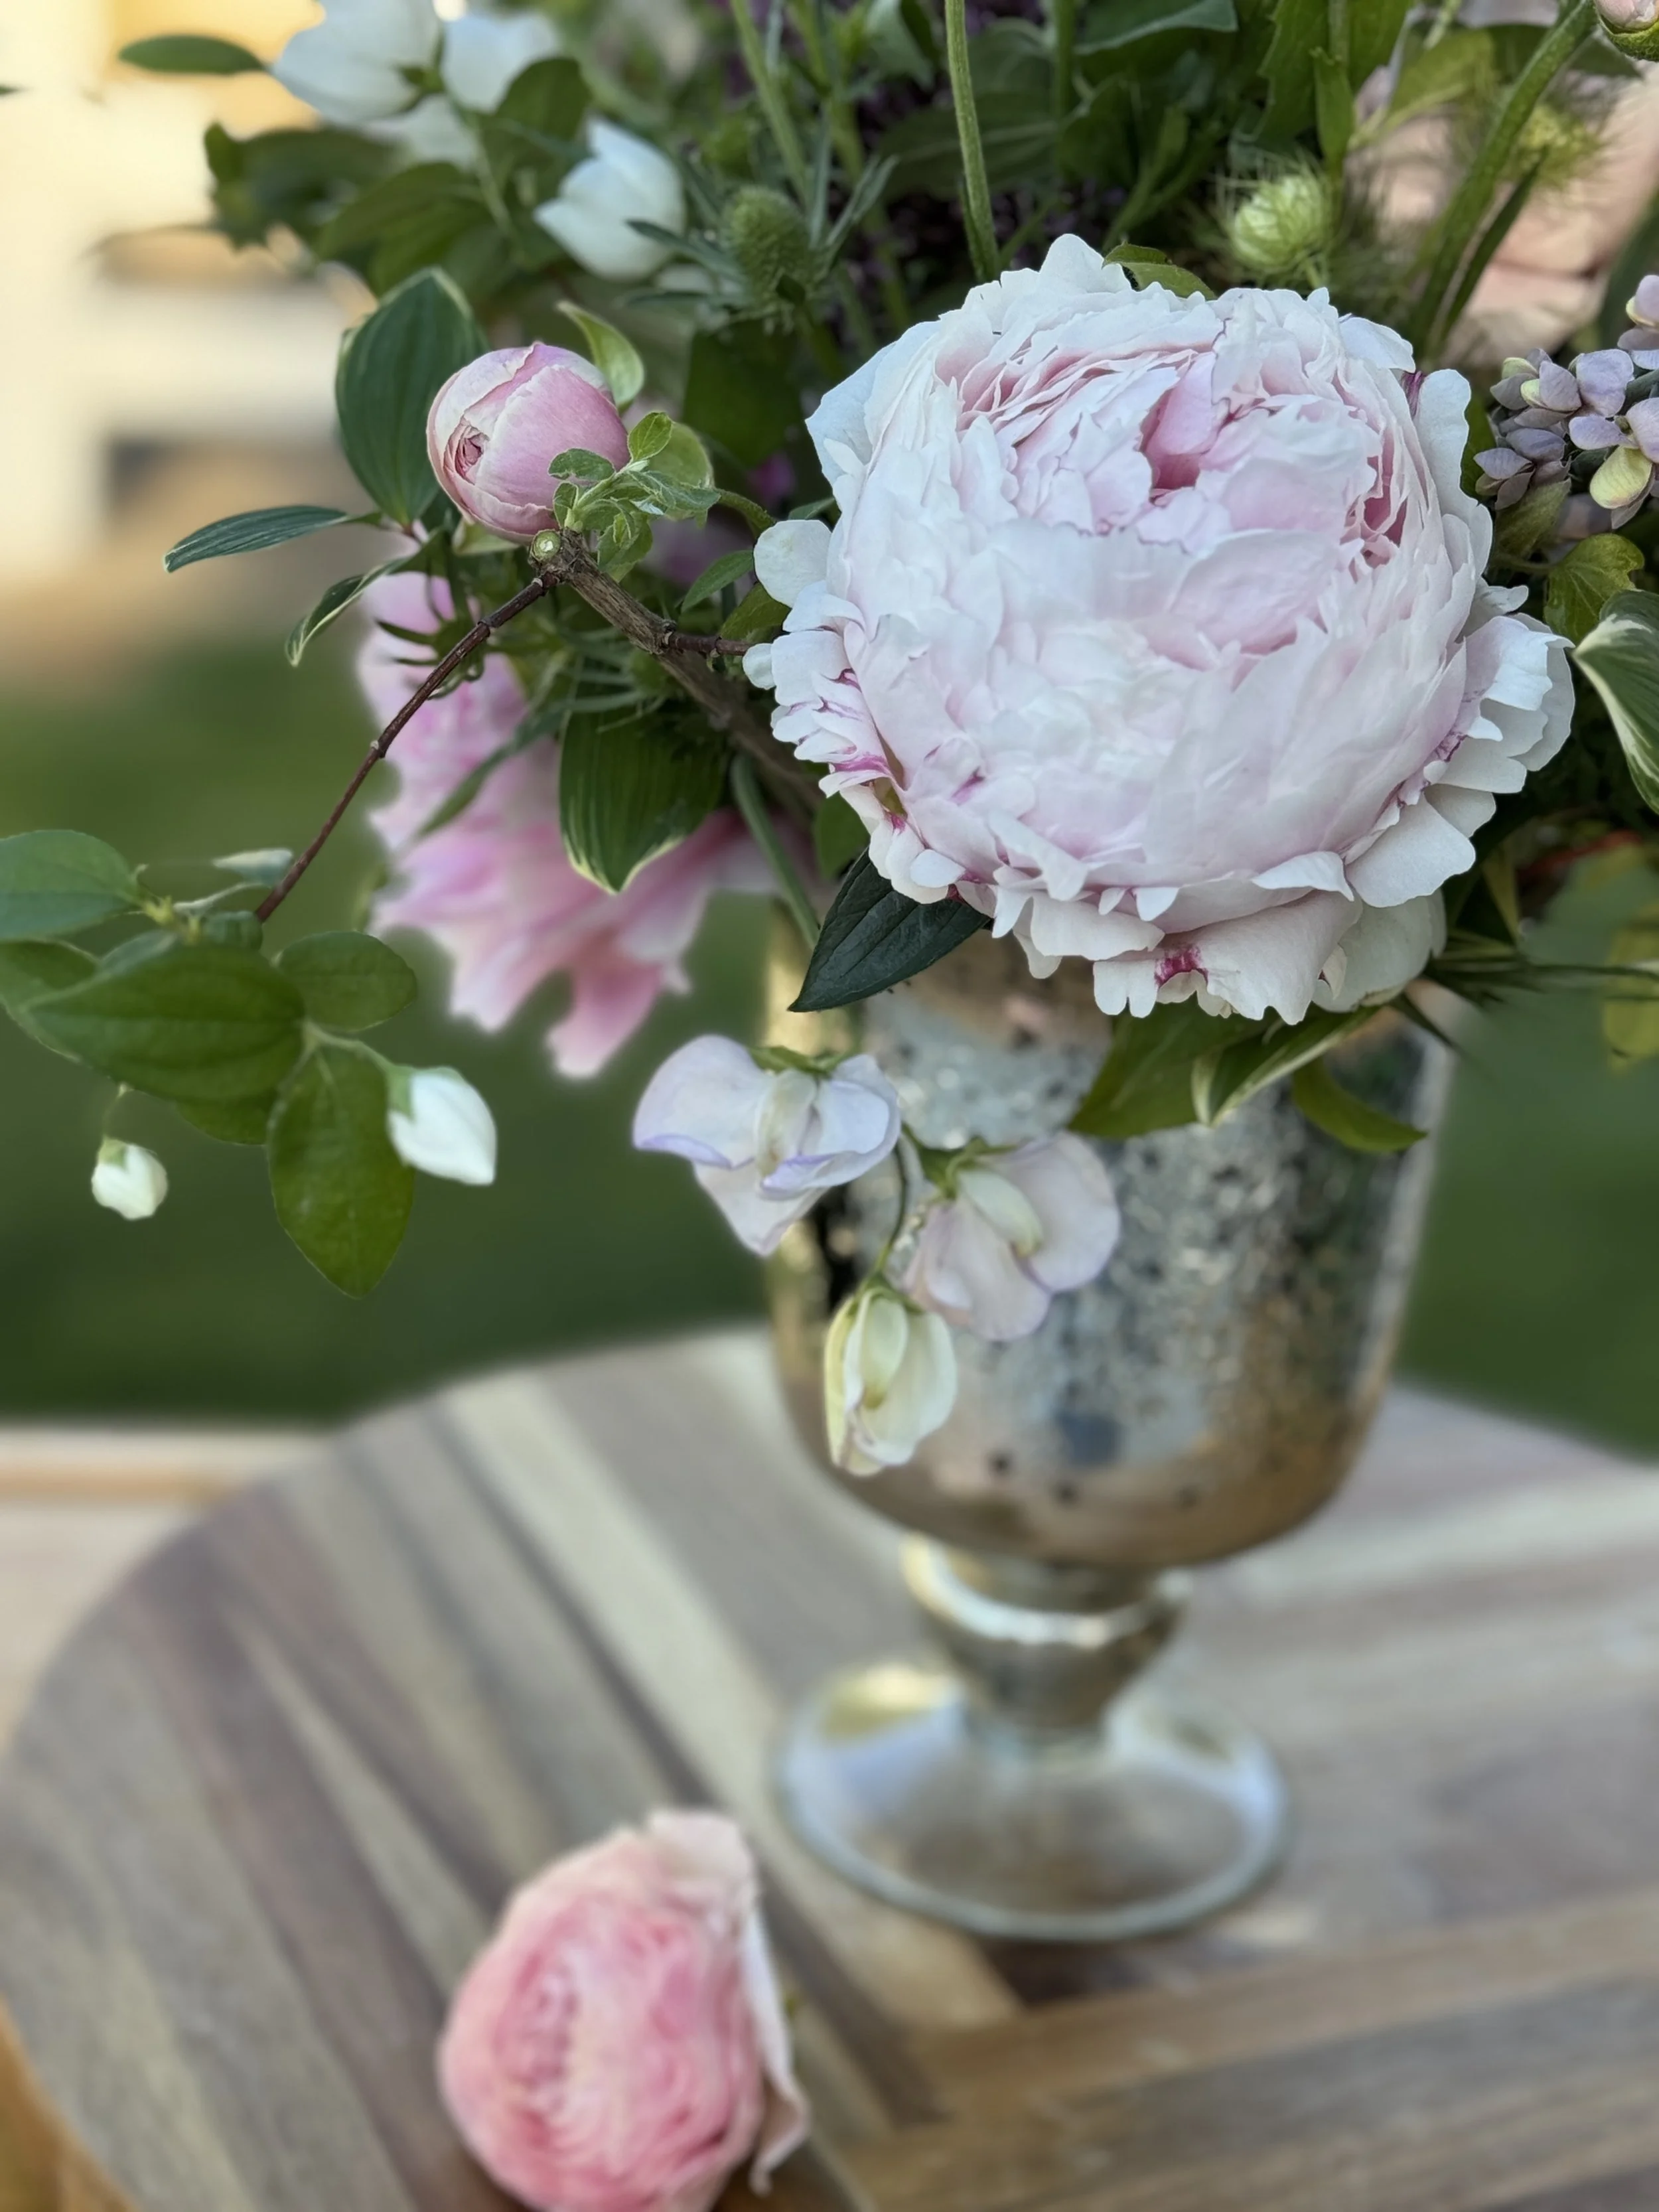
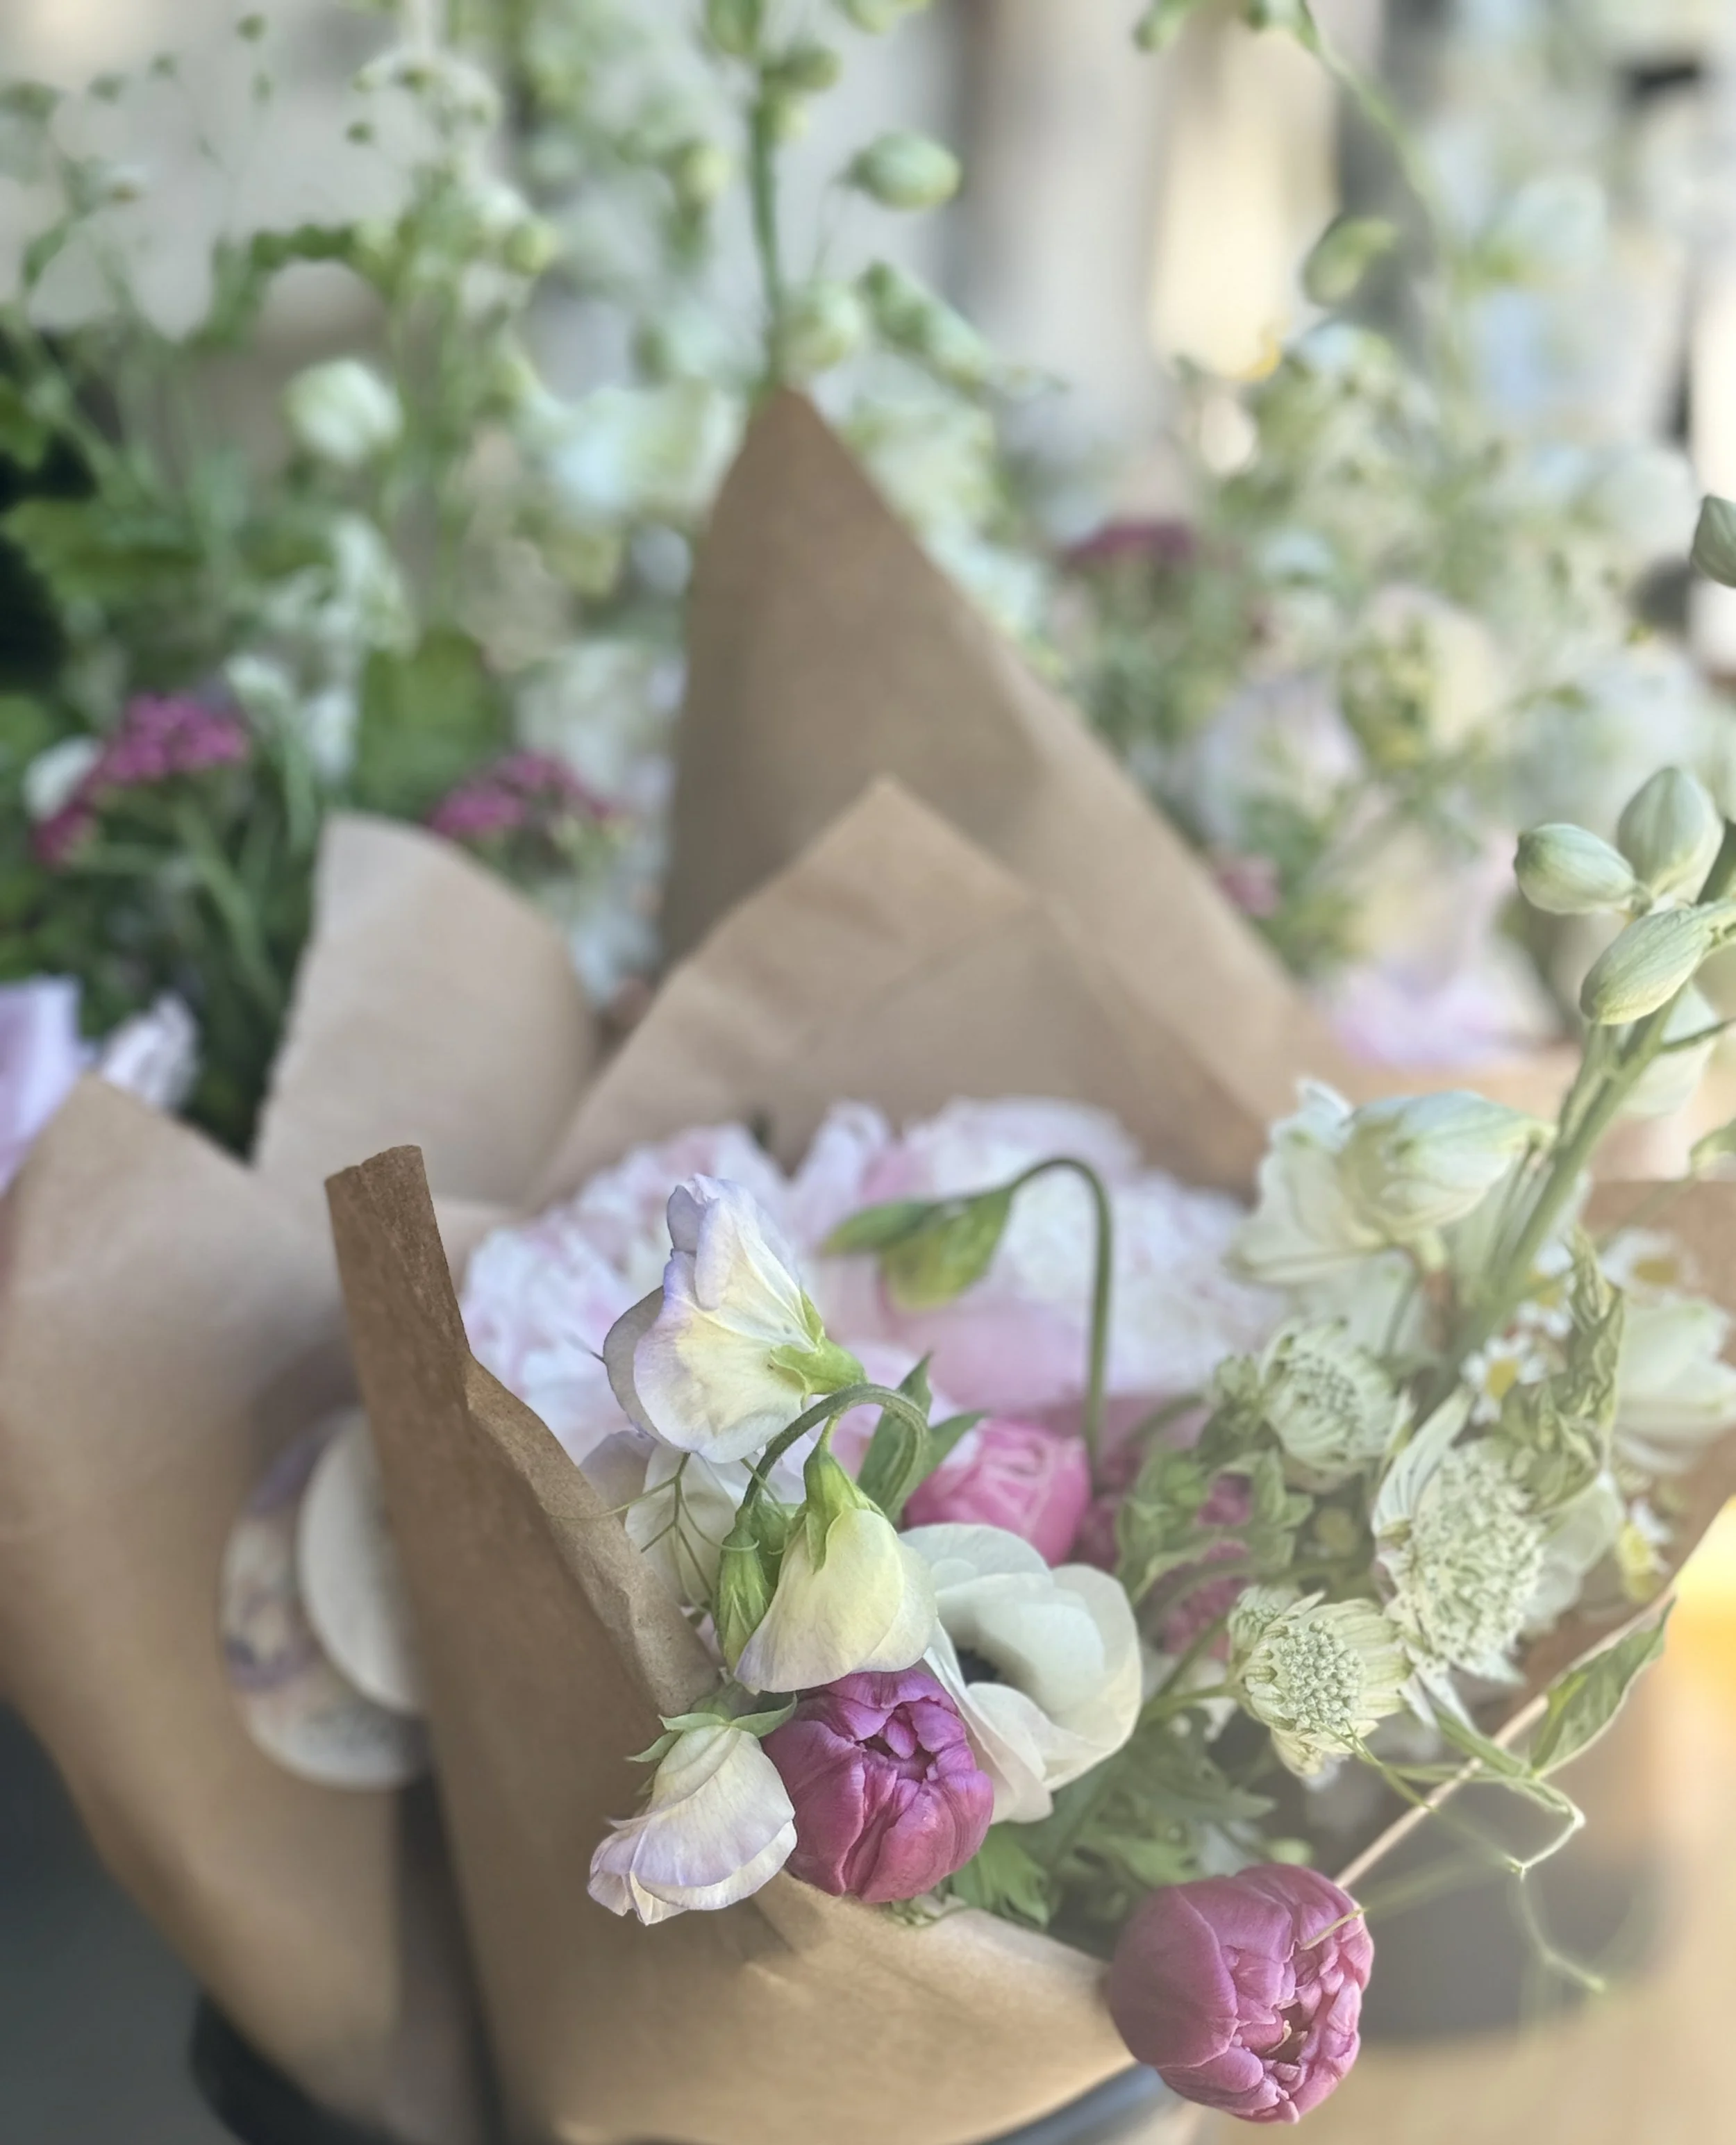
These Petals, This Vase: A Gentle Guide for Flower Lovers
Flowers should feel like a breath of fresh air — not a moment of second-guessing.
These Petals, This Vase is a gentle guide for flower lovers who want to choose a vase with confidence, let go of perfection, and enjoy their blooms exactly as they are.
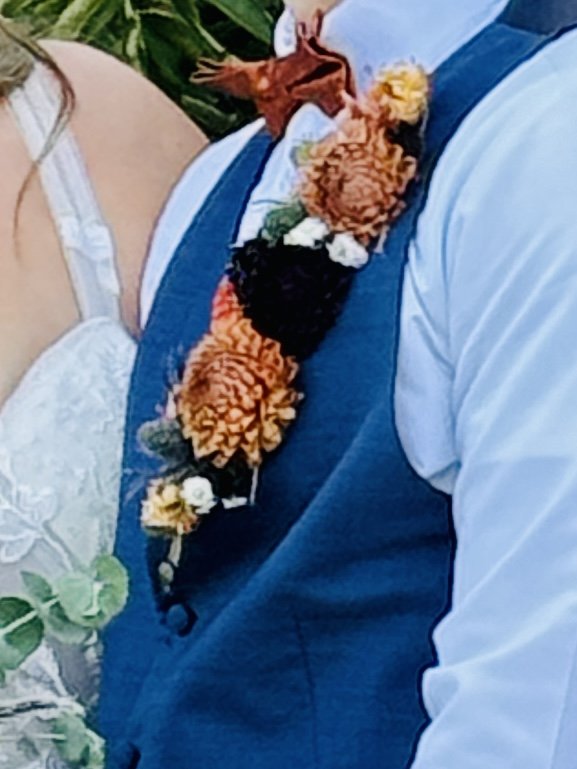
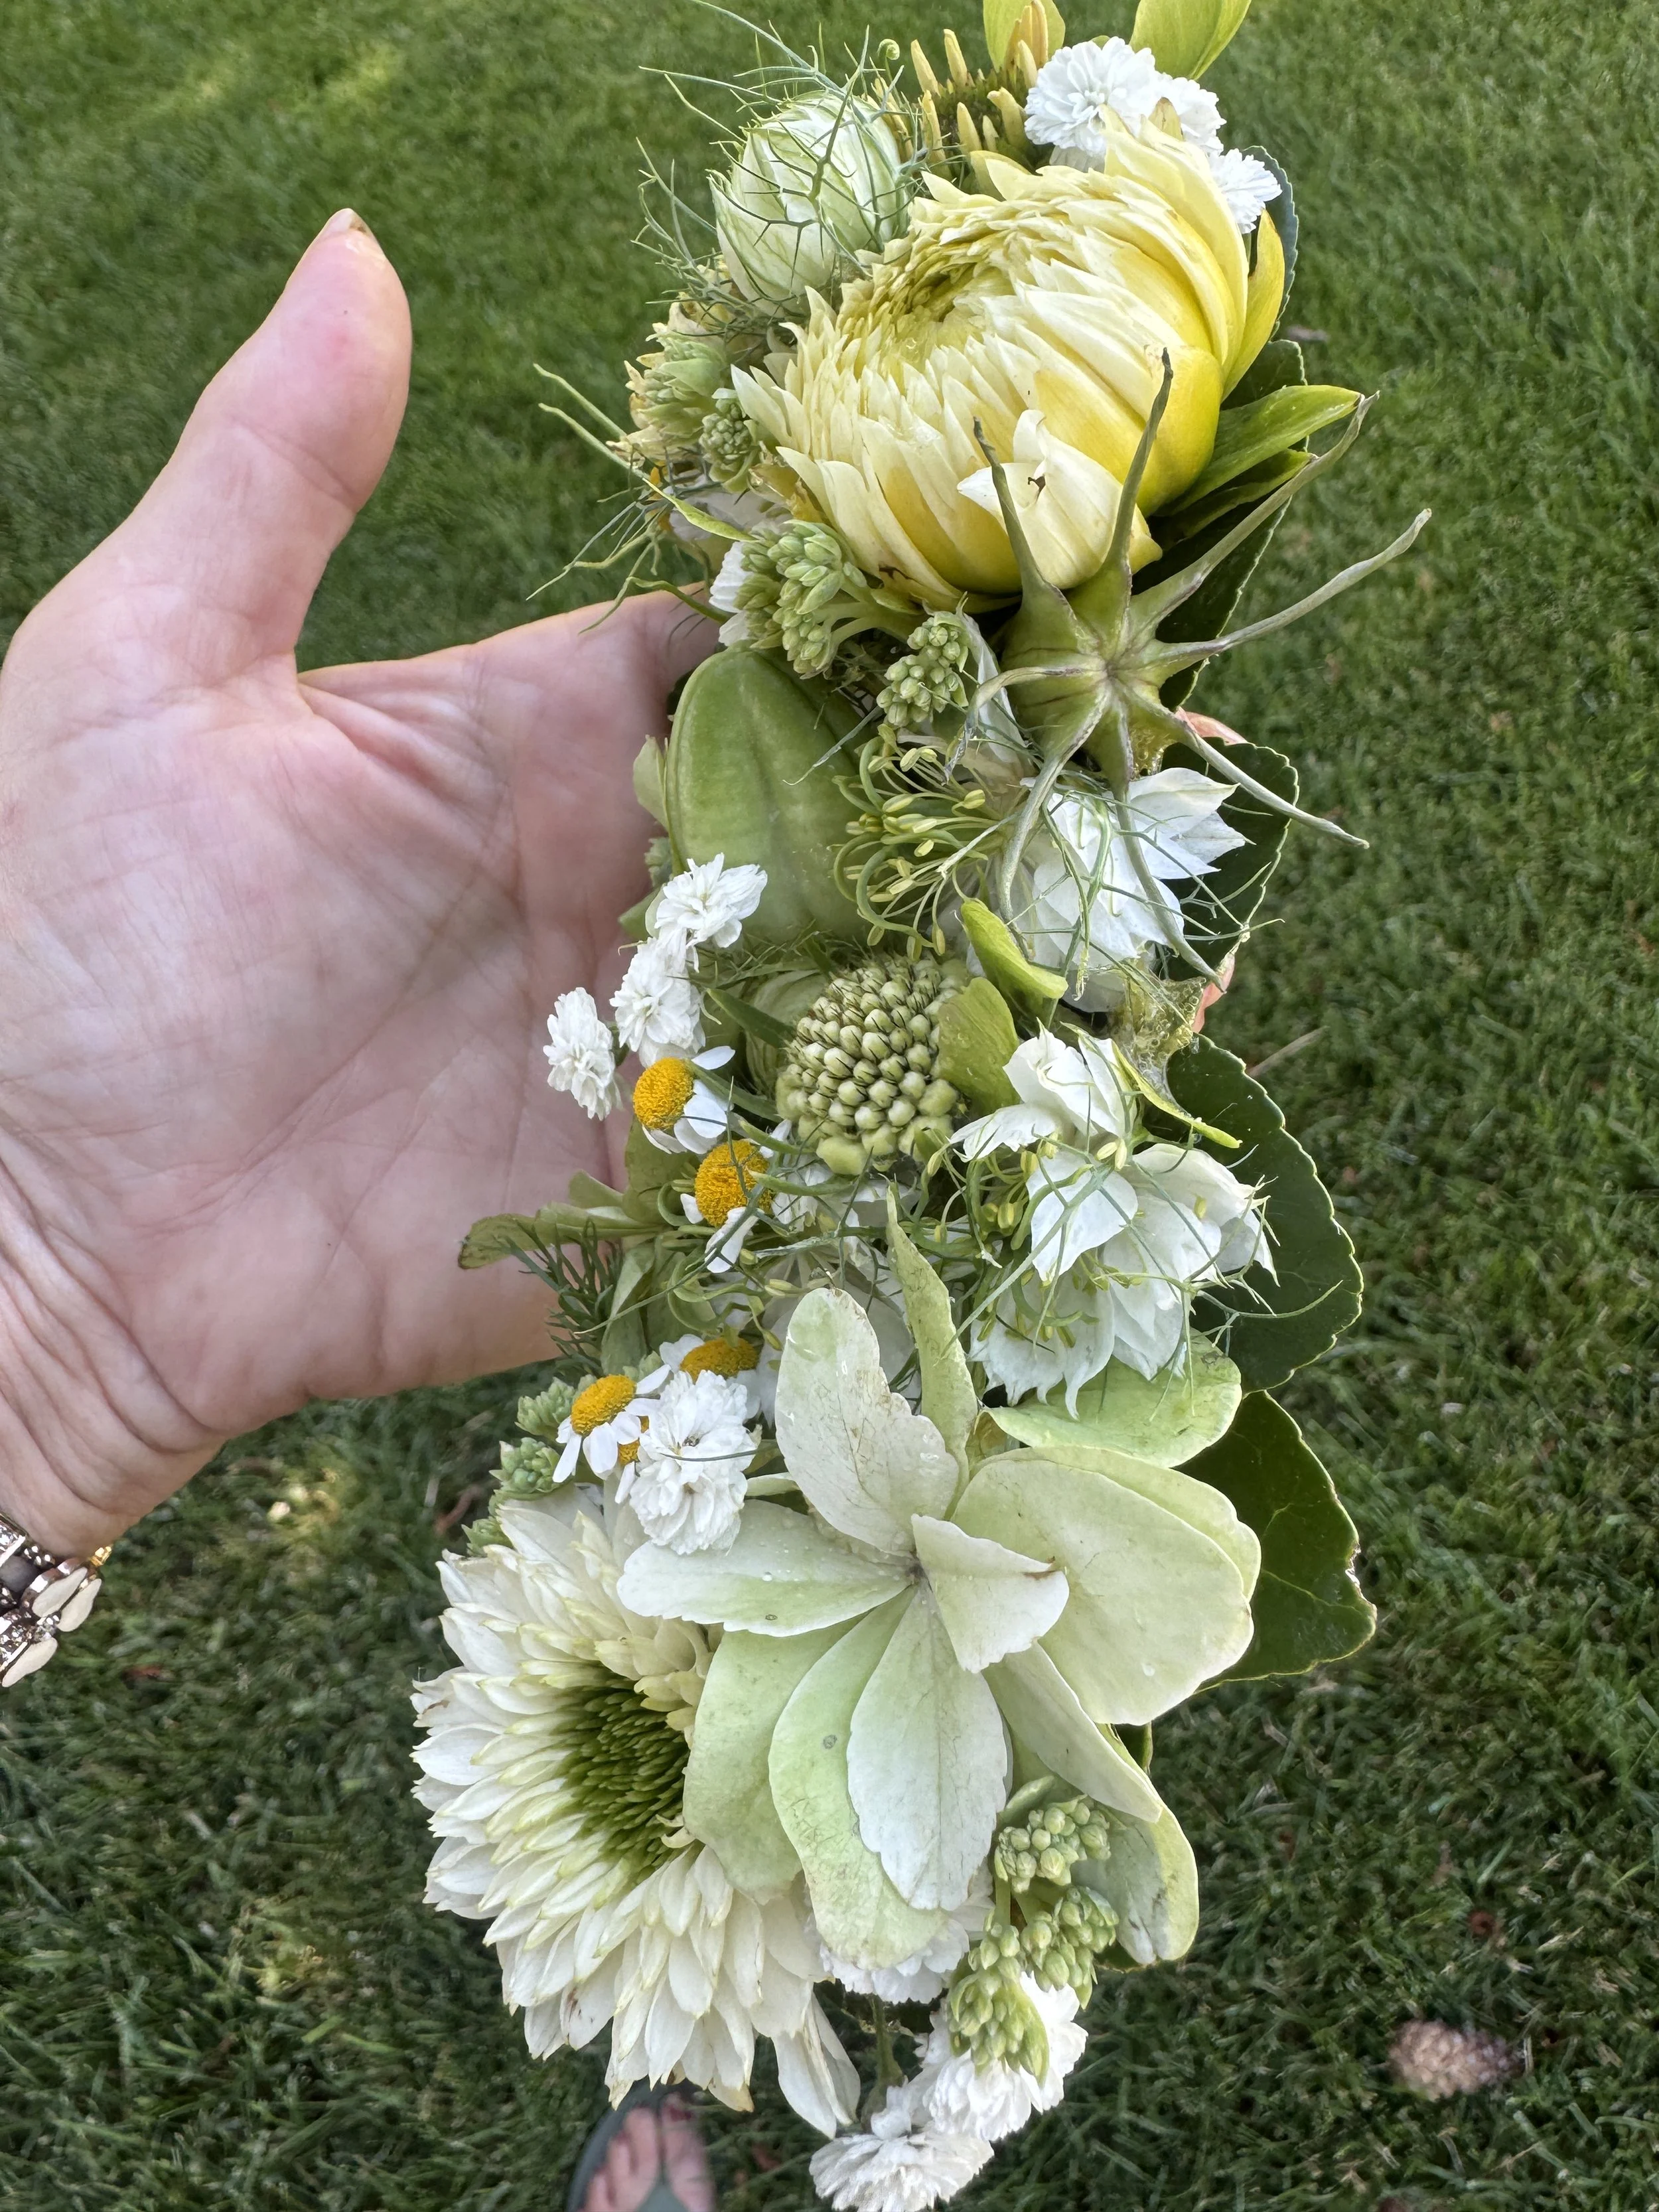
Magnetic Lapel Bouquets: A Modern, Fabric-Safe Alternative to Traditional Boutonnieres
A pin-free magnetic lapel bouquet designed to sit clean and secure—no shifting, no fabric damage, just an effortless, intentional finish.

15 Questions Flower Friends Ask About Flower Subscriptions (FAQ)
Discover how Flower Circles makes enjoying fresh, seasonal flowers simple, joyful, and worry-free. Learn answers to the questions Flower Friends ask most — from bouquet sizes and pickup details to seasonal blooms and how to reserve your flowers each week.
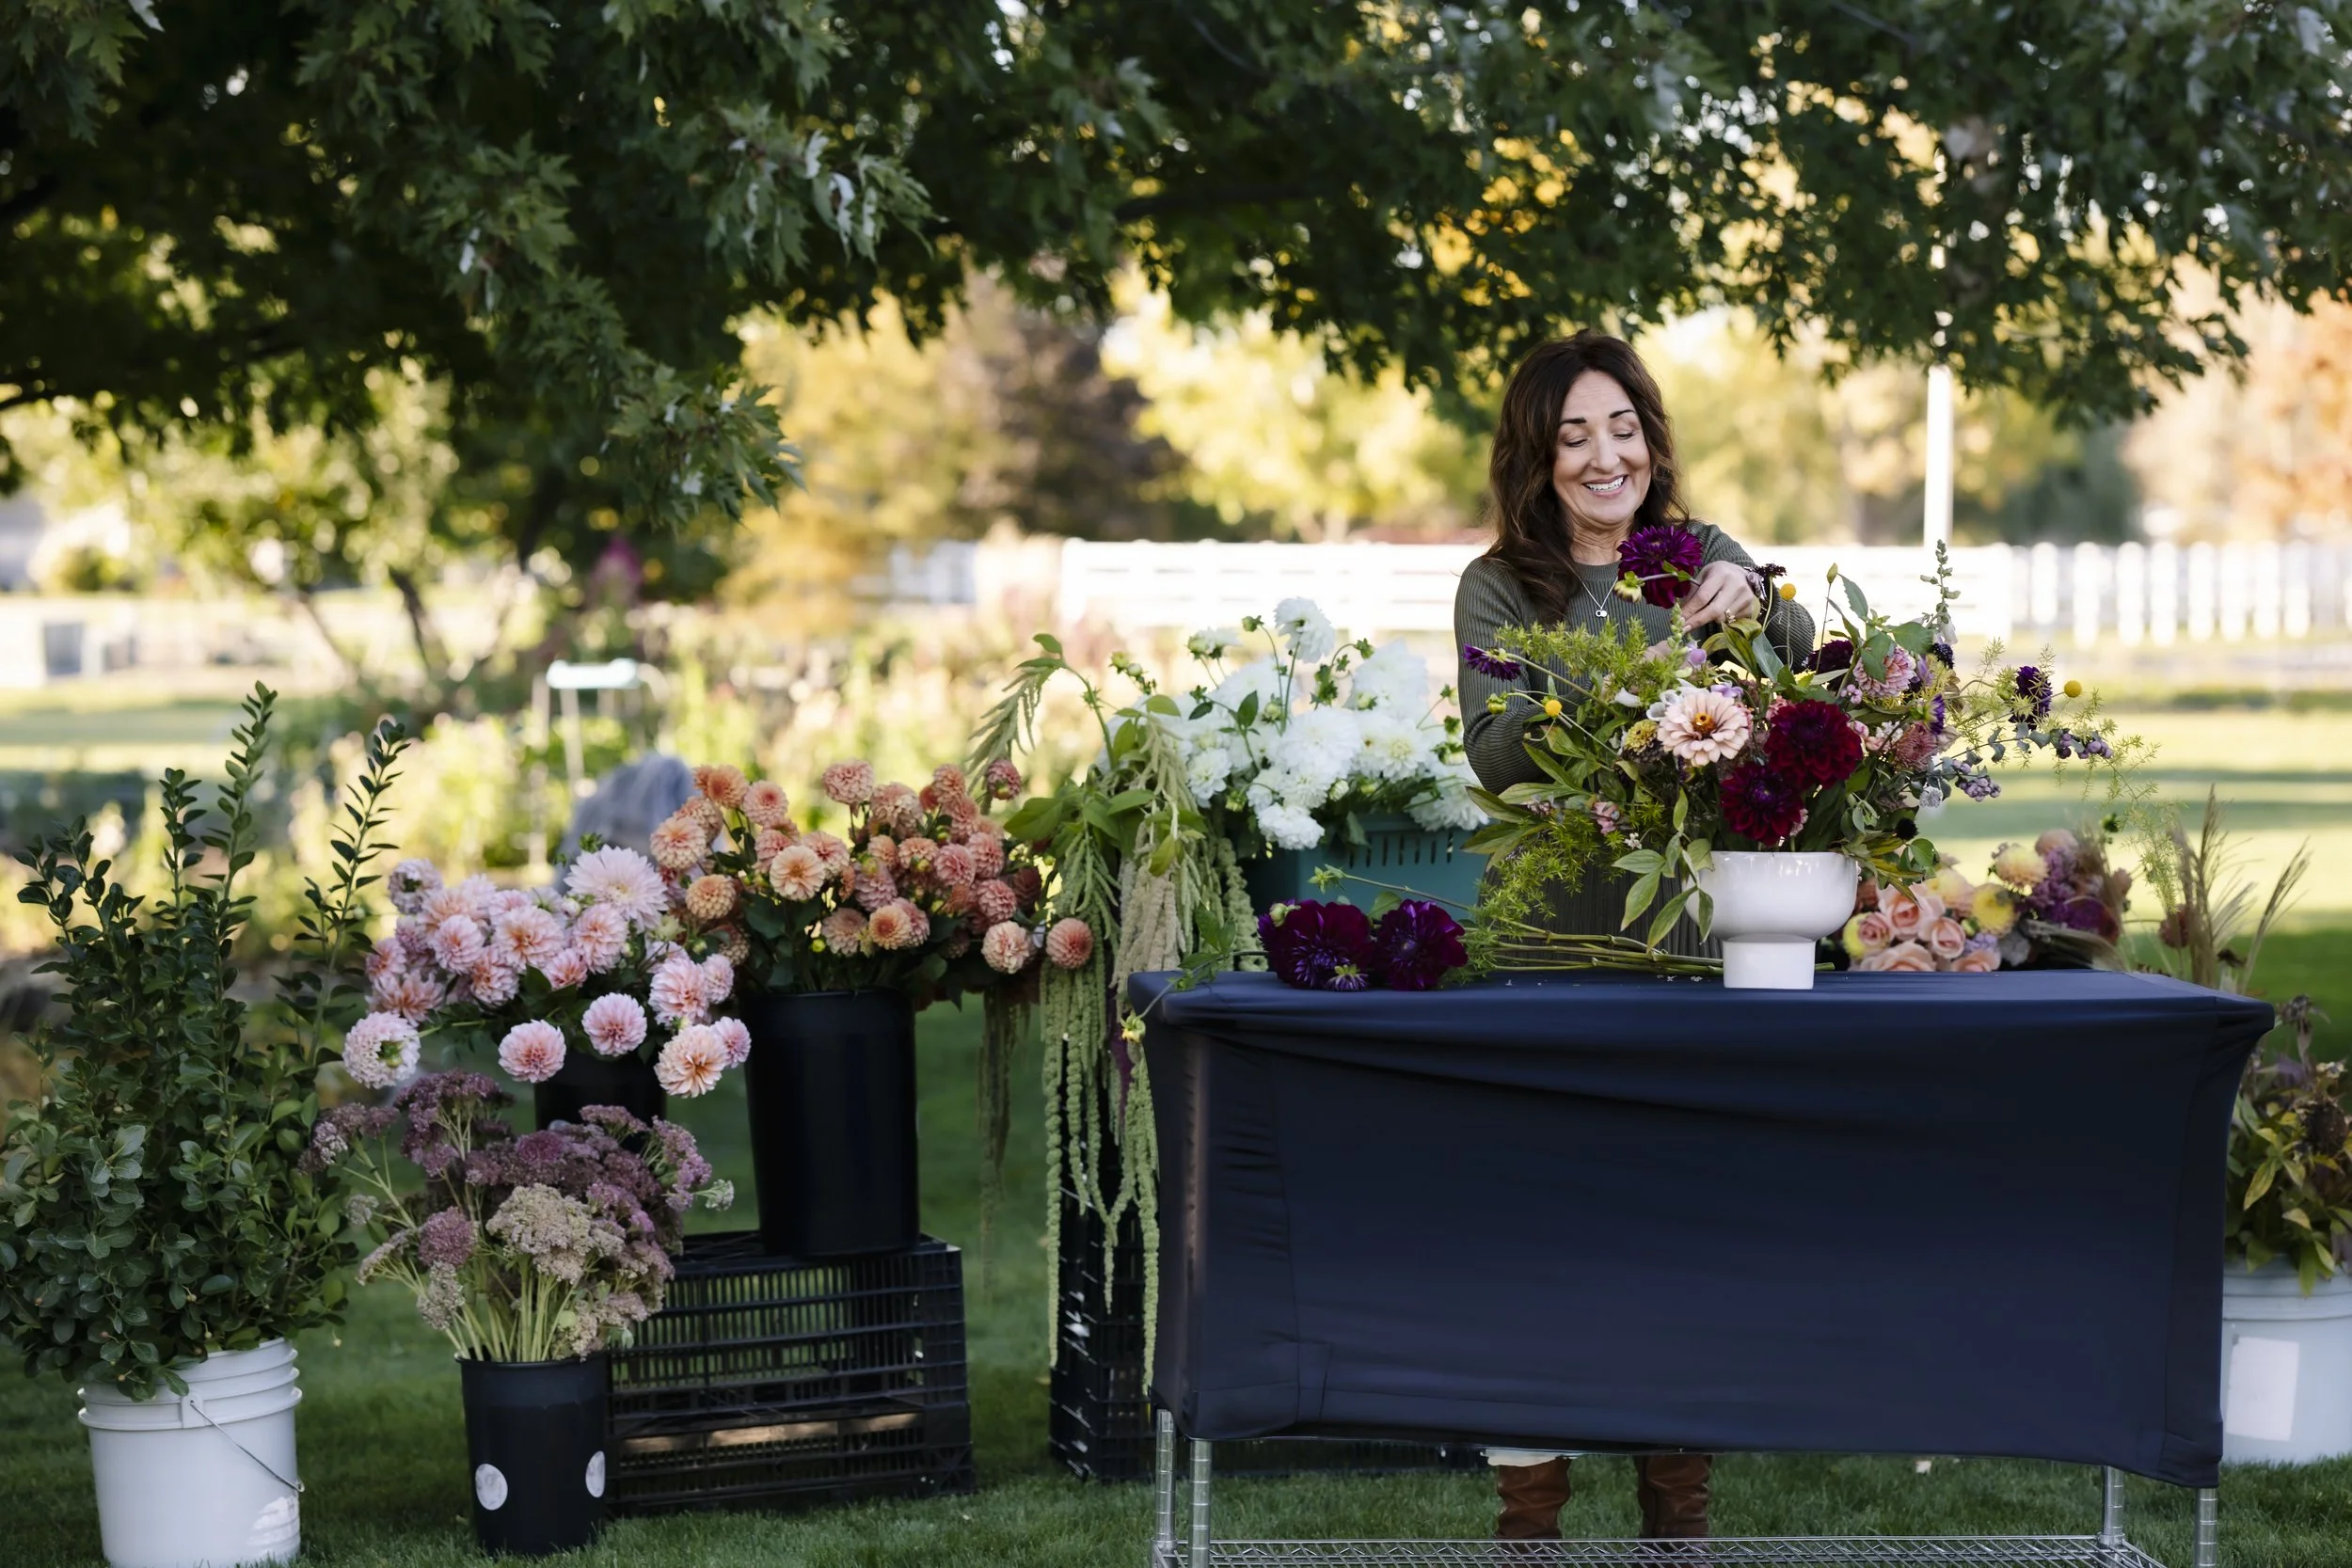
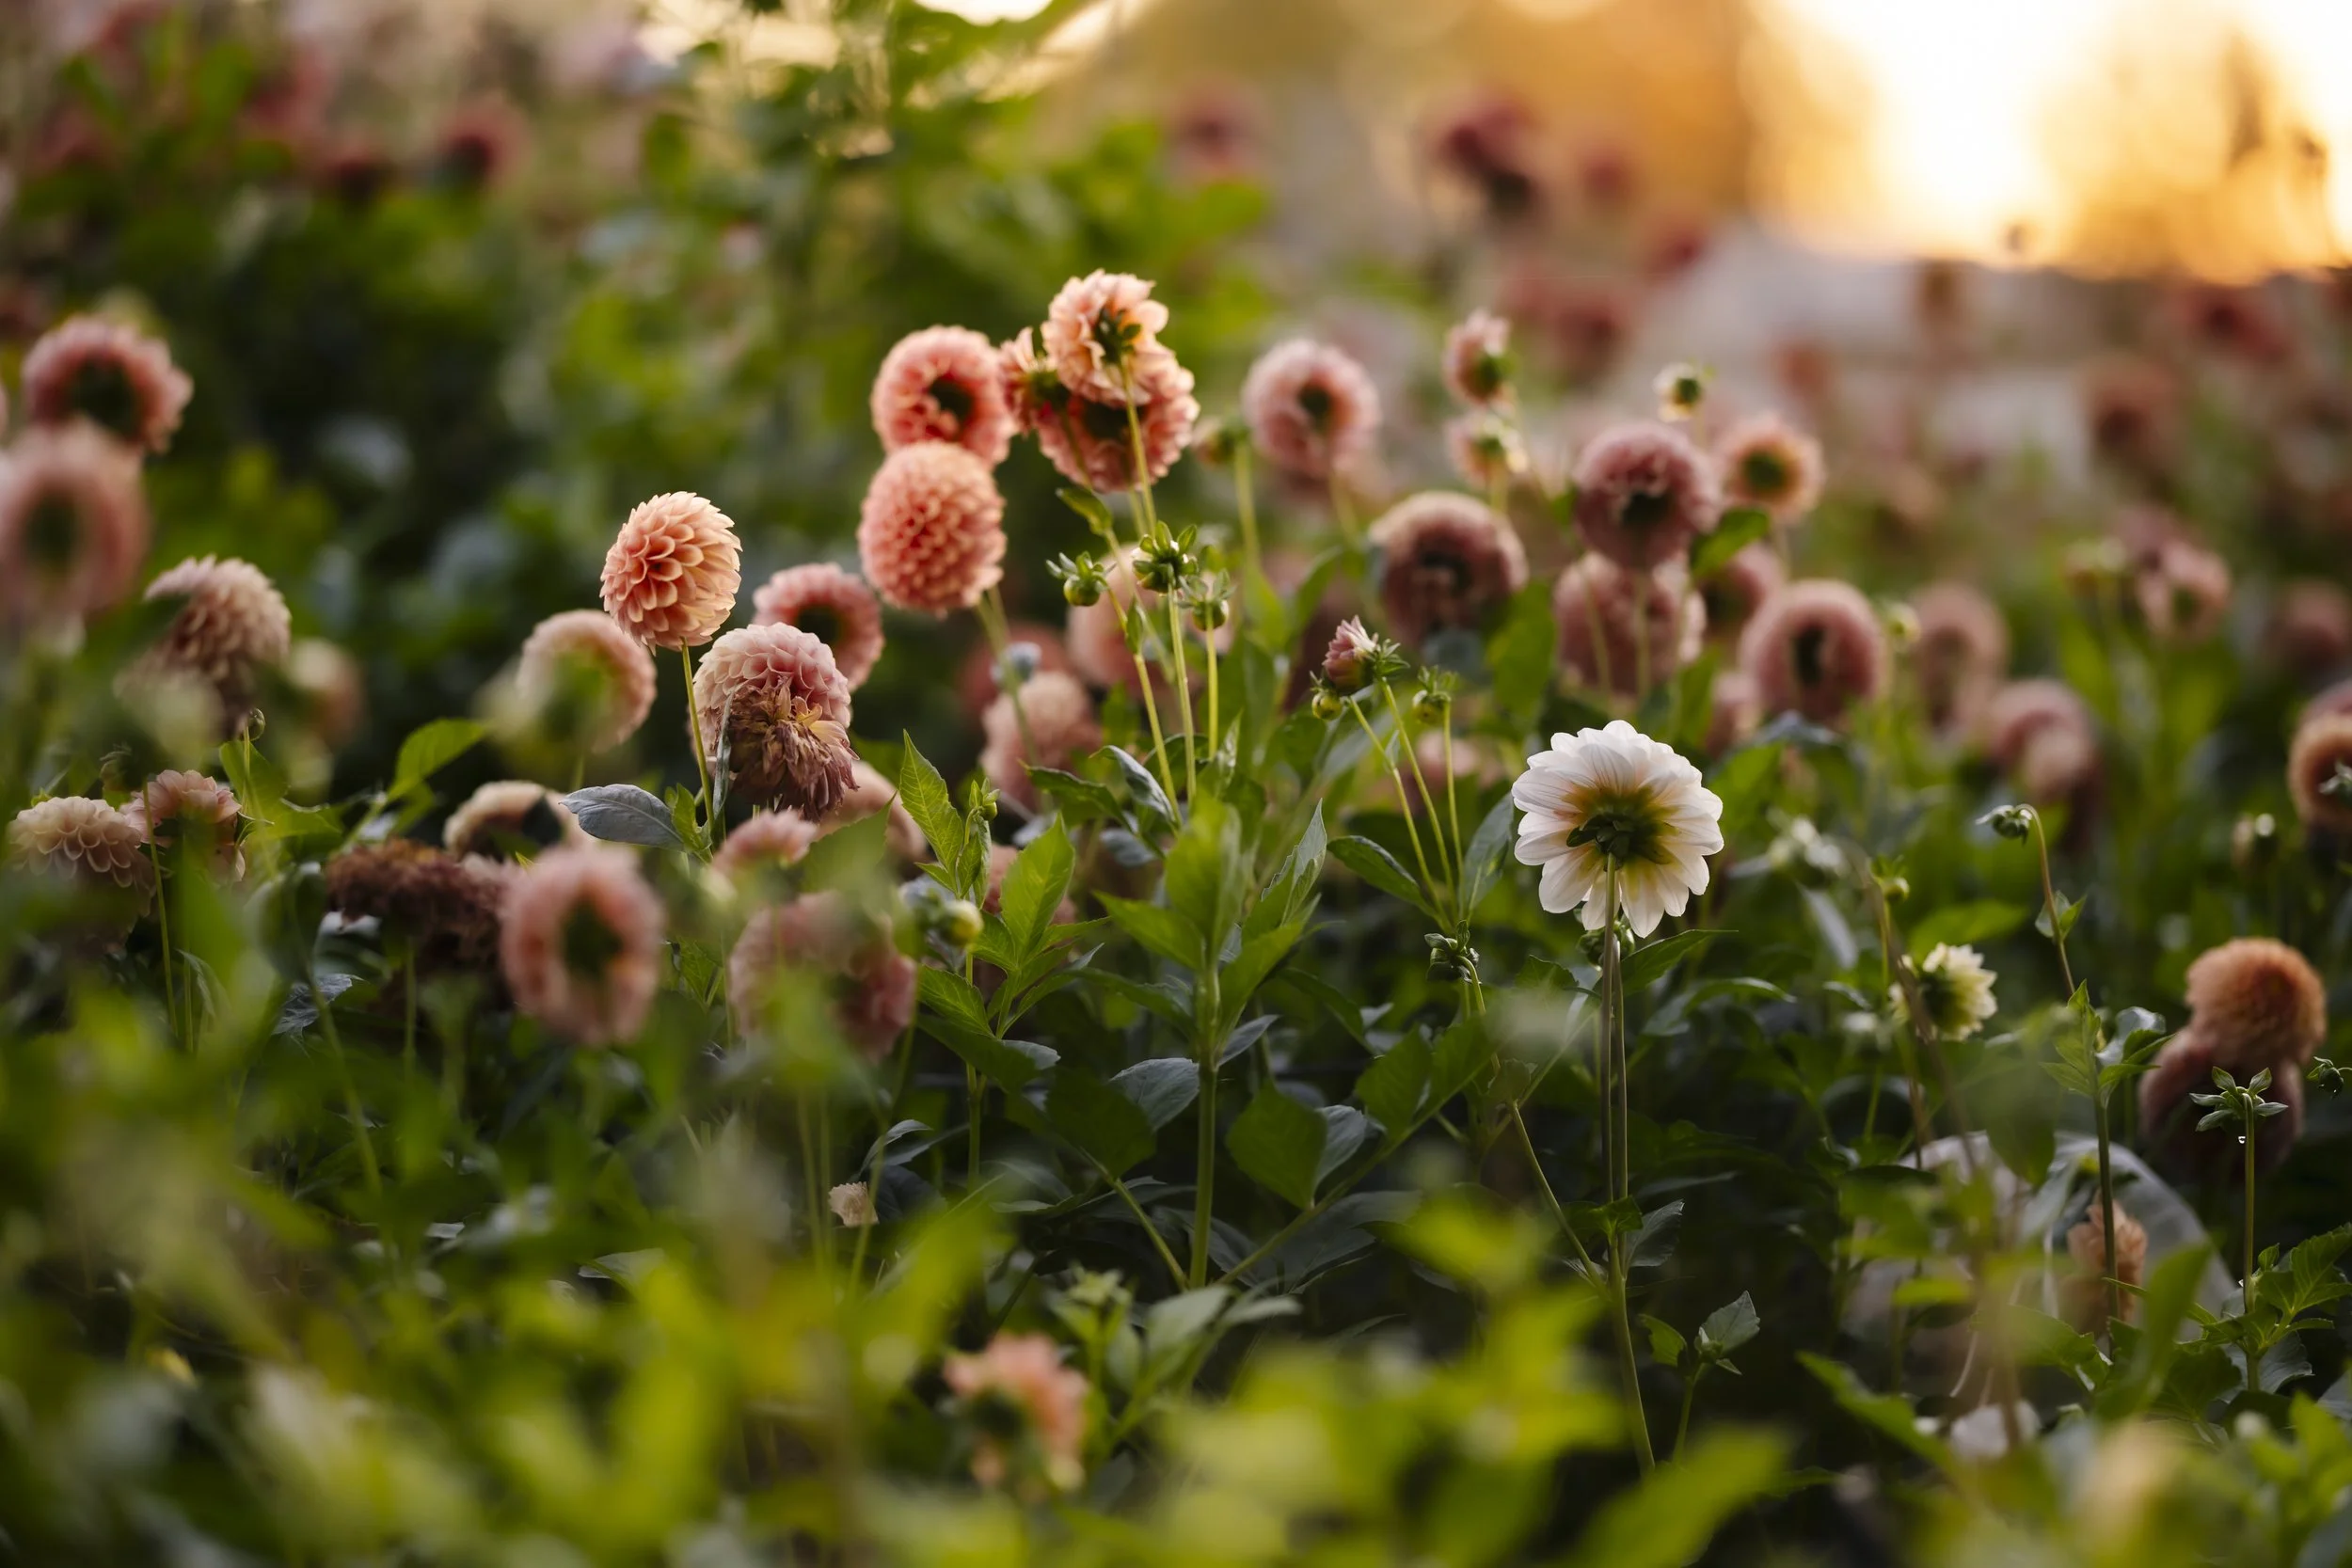
Seasonal Flower Workshops in the Treasure Valley: What to Expect at Ella June Gardens
Seasonal flower workshops in the Treasure Valley designed to help you slow down, reconnect with beauty, and create something meaningful. Hosted at Ella June Gardens in Middleton, Idaho — an easy drive from Boise and Meridian. Workshops are released seasonally and spots are intentionally limited.
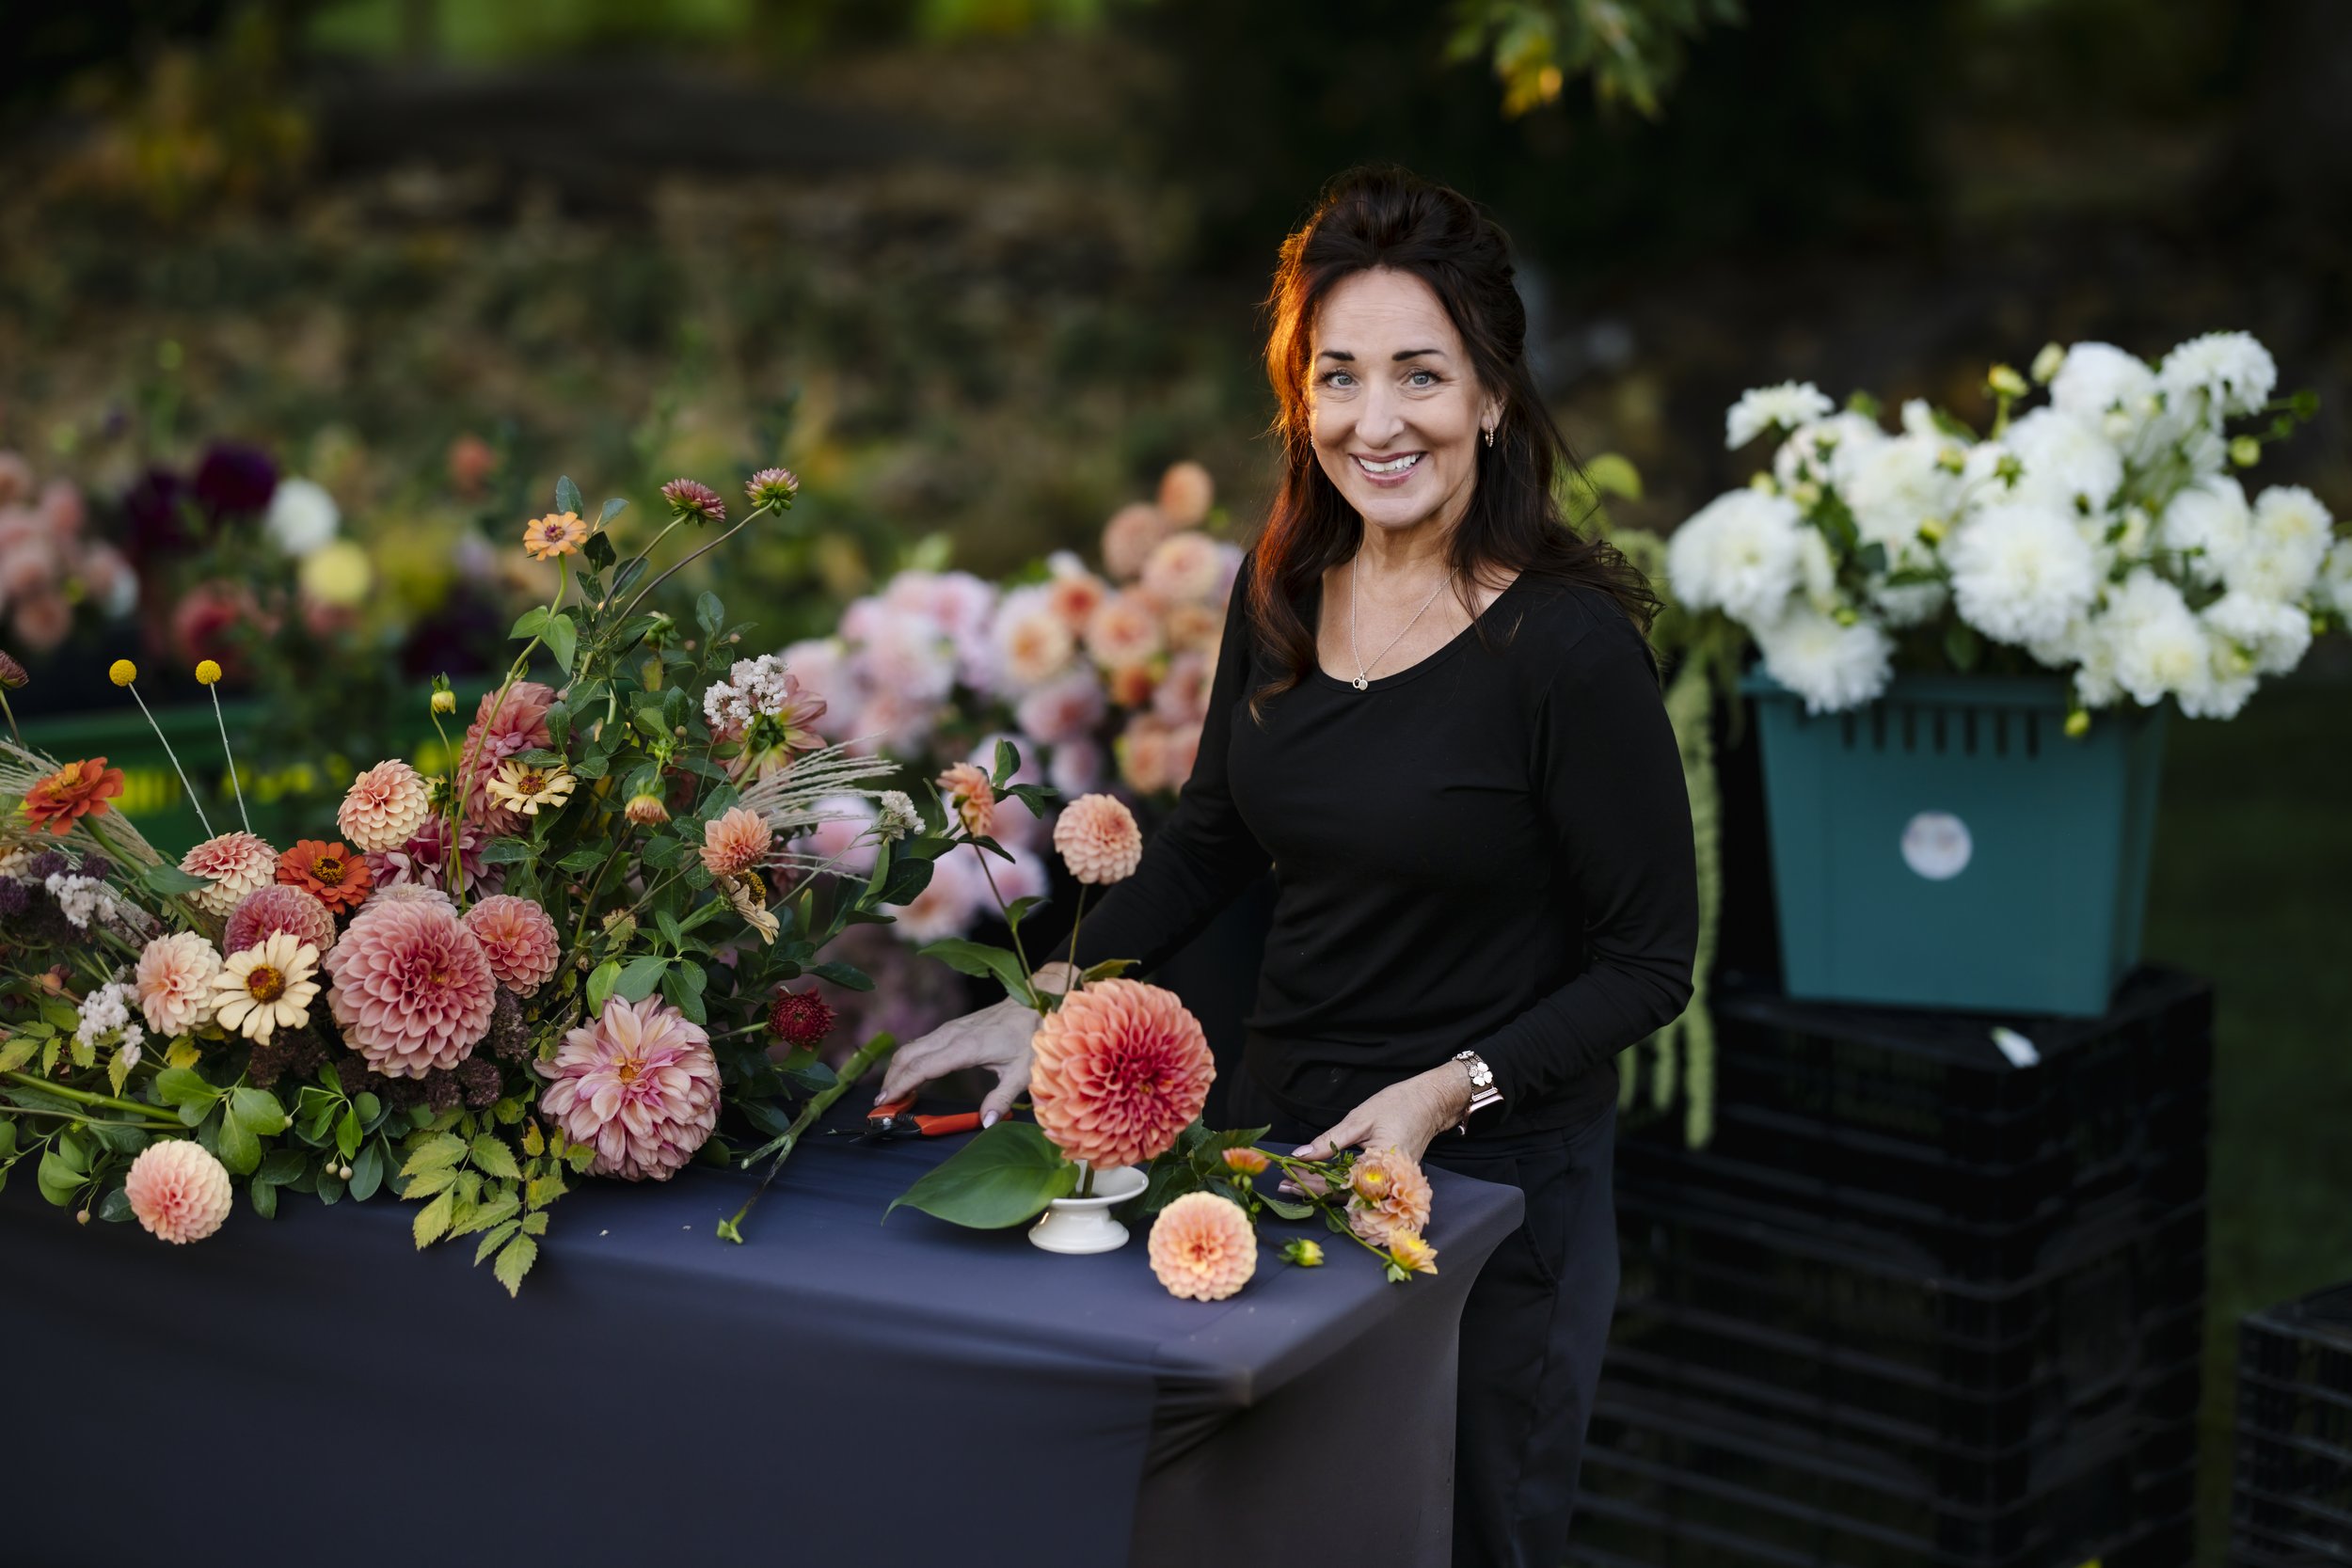
How to Set Up a DIY Wedding Flower Design Station
Wishing you knew how to set up your DIY for less stress and more success?
I’ve got you covered!
Read this blog and you’ll know exactly how I suggest setting up to complete your DIY Wedding Flowers with ease and proficiency.
Flower Bathing: my take on the Japanese Shinrin-yoku
My Middleton, Idaho take on an ancient Japanese tradition.

Real Couples. Real Budgets. Real Seasons.
Simple beats complicated and doesn’t mean you sacrifice and experience scarcity.
Living in Circles:
Community. Enlightenment. Unity. Completeness. Strength. This is part of the Friday Flower Circle community. You know what grounds you and what makes life better. You let nature do it’s work to help you love what you have. Join the Circle!
A Guide to My Three Flower Seasons
Three distinct seasons. Three distinct kinds of flowers that blend into each other depending on weather.
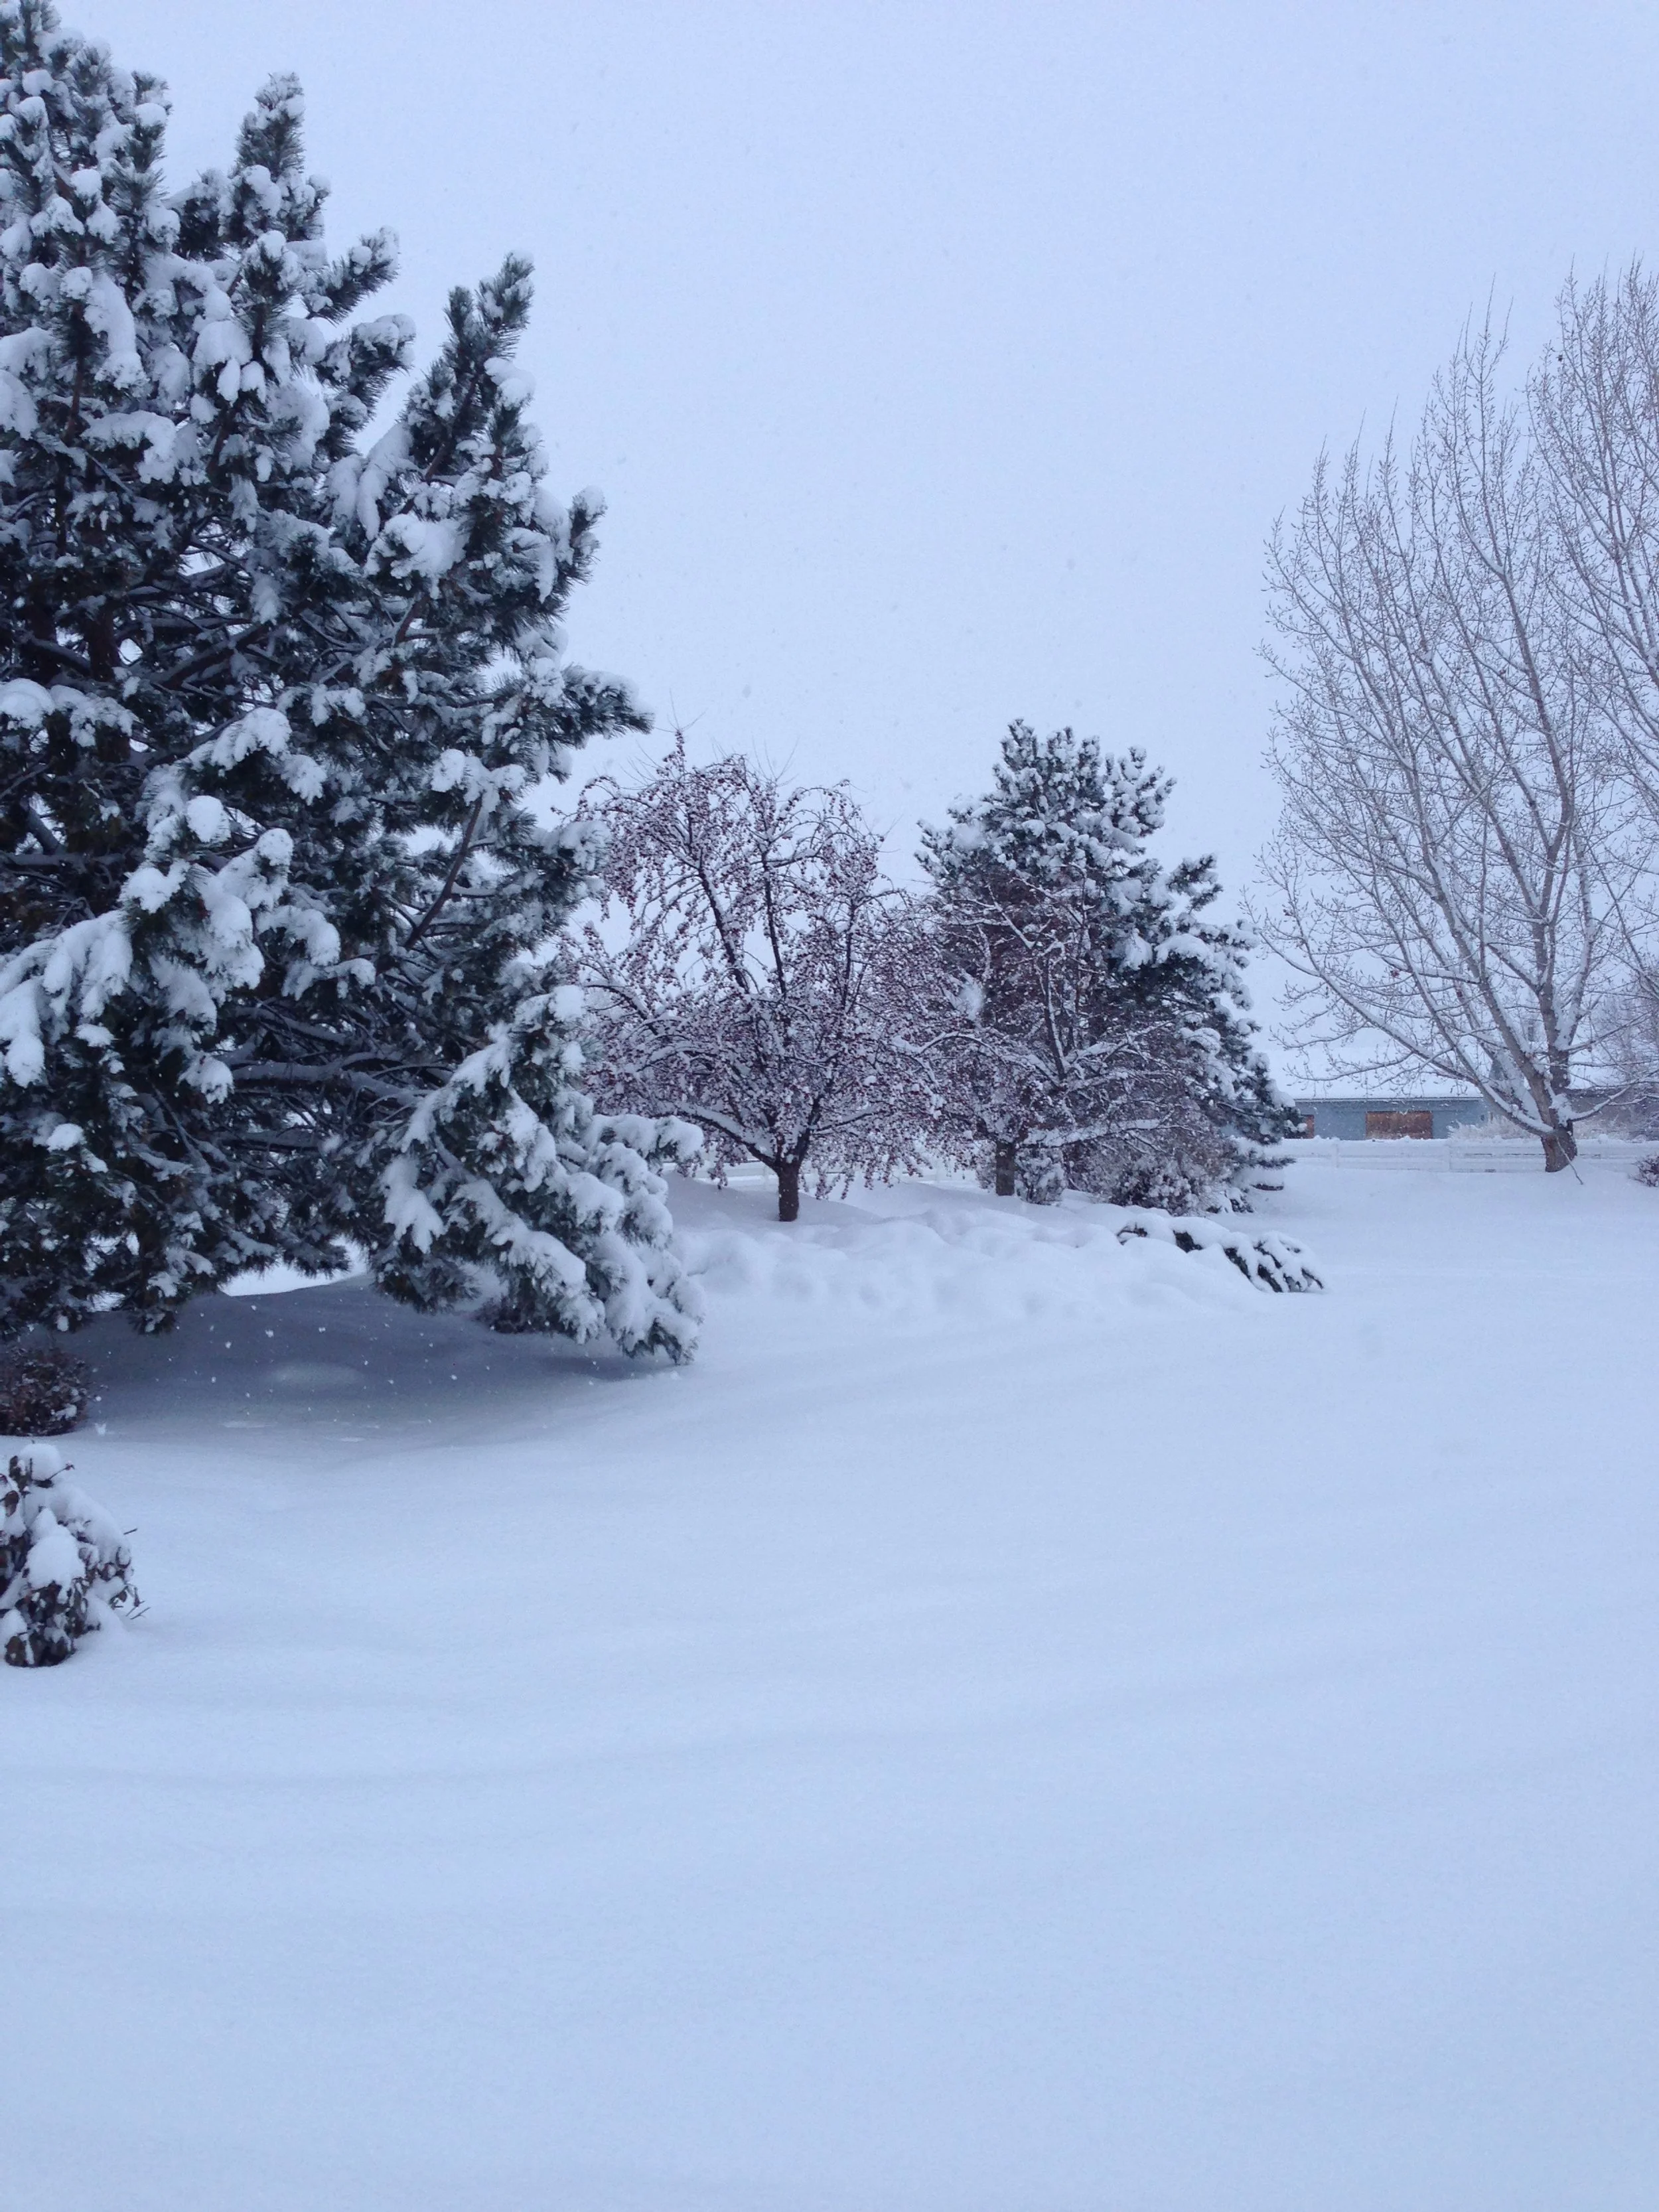
Winter Solstice: Trusting the Rhythm of Nature and the Quiet Return of Light
Winter Solstice is a great time to snuggle in and plan for days that are brighter, longer and more colorful.
How Many Flowers Do I Actually Need for My DIY Wedding
90 Stems is a lot, but how far does that go for a wedding? Get all the details in this Blog Post!
Choosing Your Wedding Flower Vibe (Without the Overwhelm)
Whether you need me to create your boutonnieres or arch pieces and bridal bouquet or you are looking for loose stems in DIY buckets for you to create your own, These color stories are not to be missed and will help you on your way to deciding which is best for You!