The Ella June Blog
From Weddings to Workshops and Gardens to Gatherings
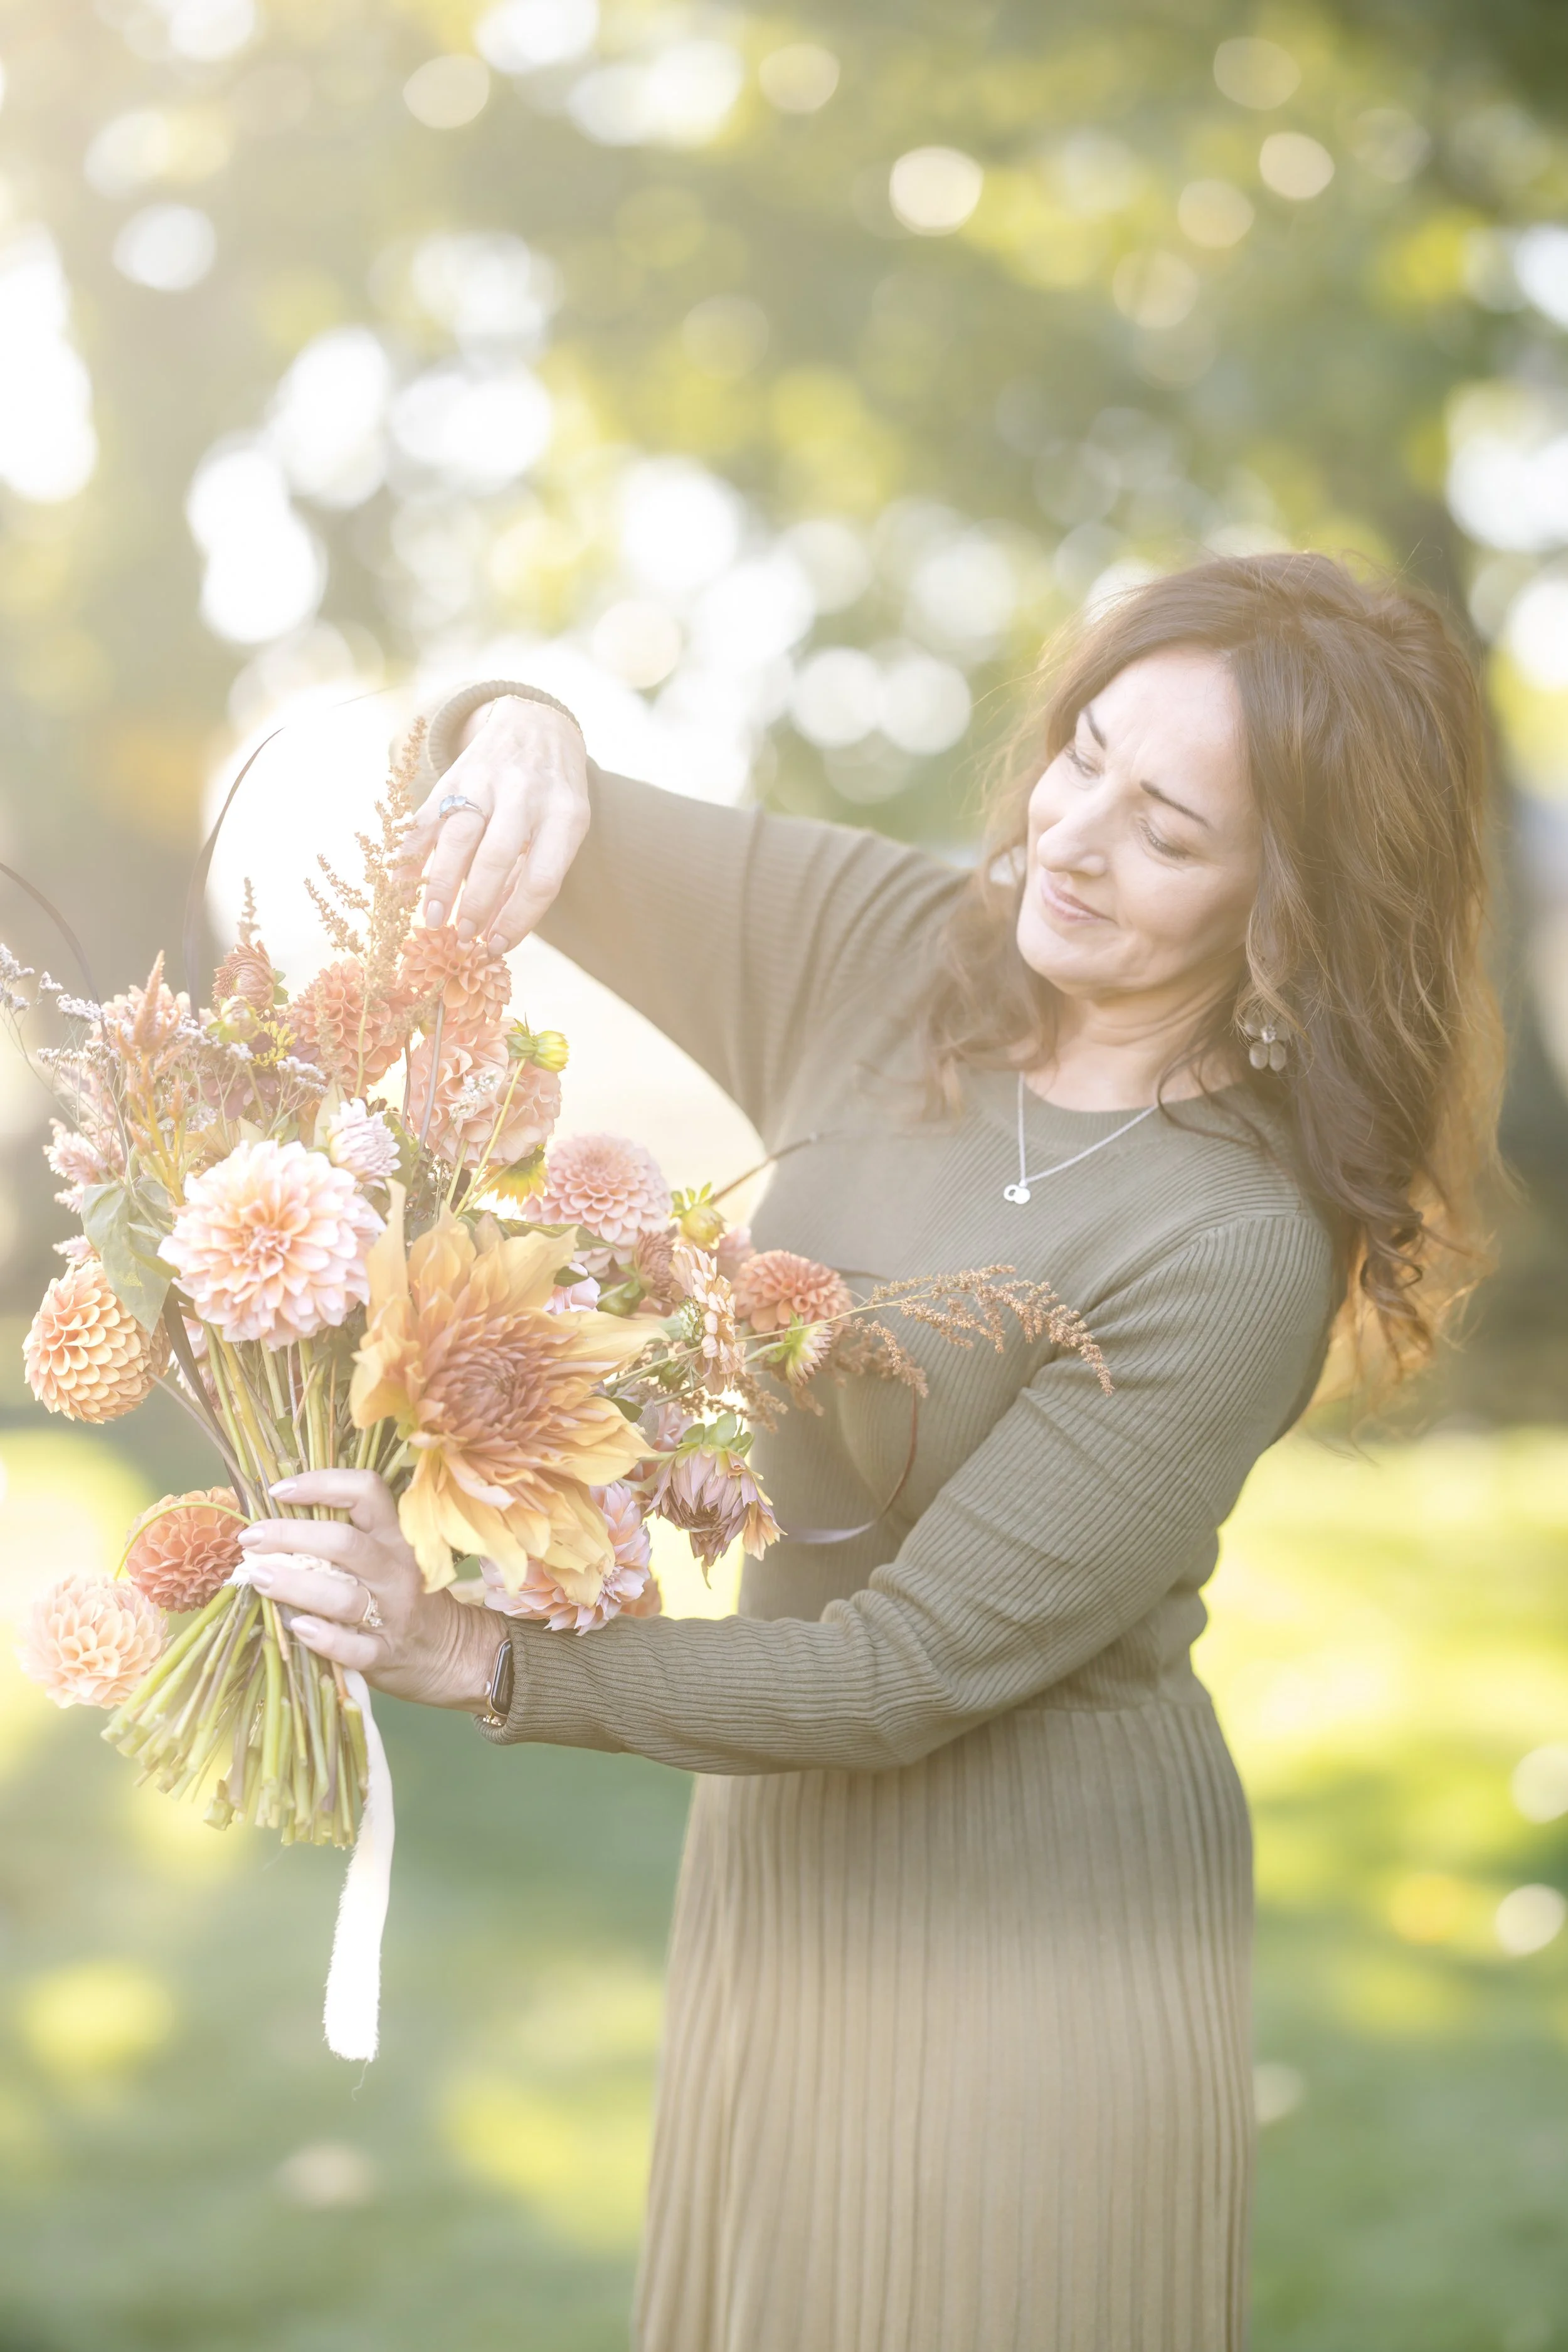
Flower lovers are welcome here.
Relax, settle in, and take your time exploring these thoughtful posts. Created to guide and inspire you.
You’re in just the right place.
The Wedding Flower Guidebook
Dreaming of DIY wedding flowers but unsure where to start?
This free guide helps you know
What’s realistic
What’s worth it
What will actually feel good.
Download the guide and gain clarity before you commit.


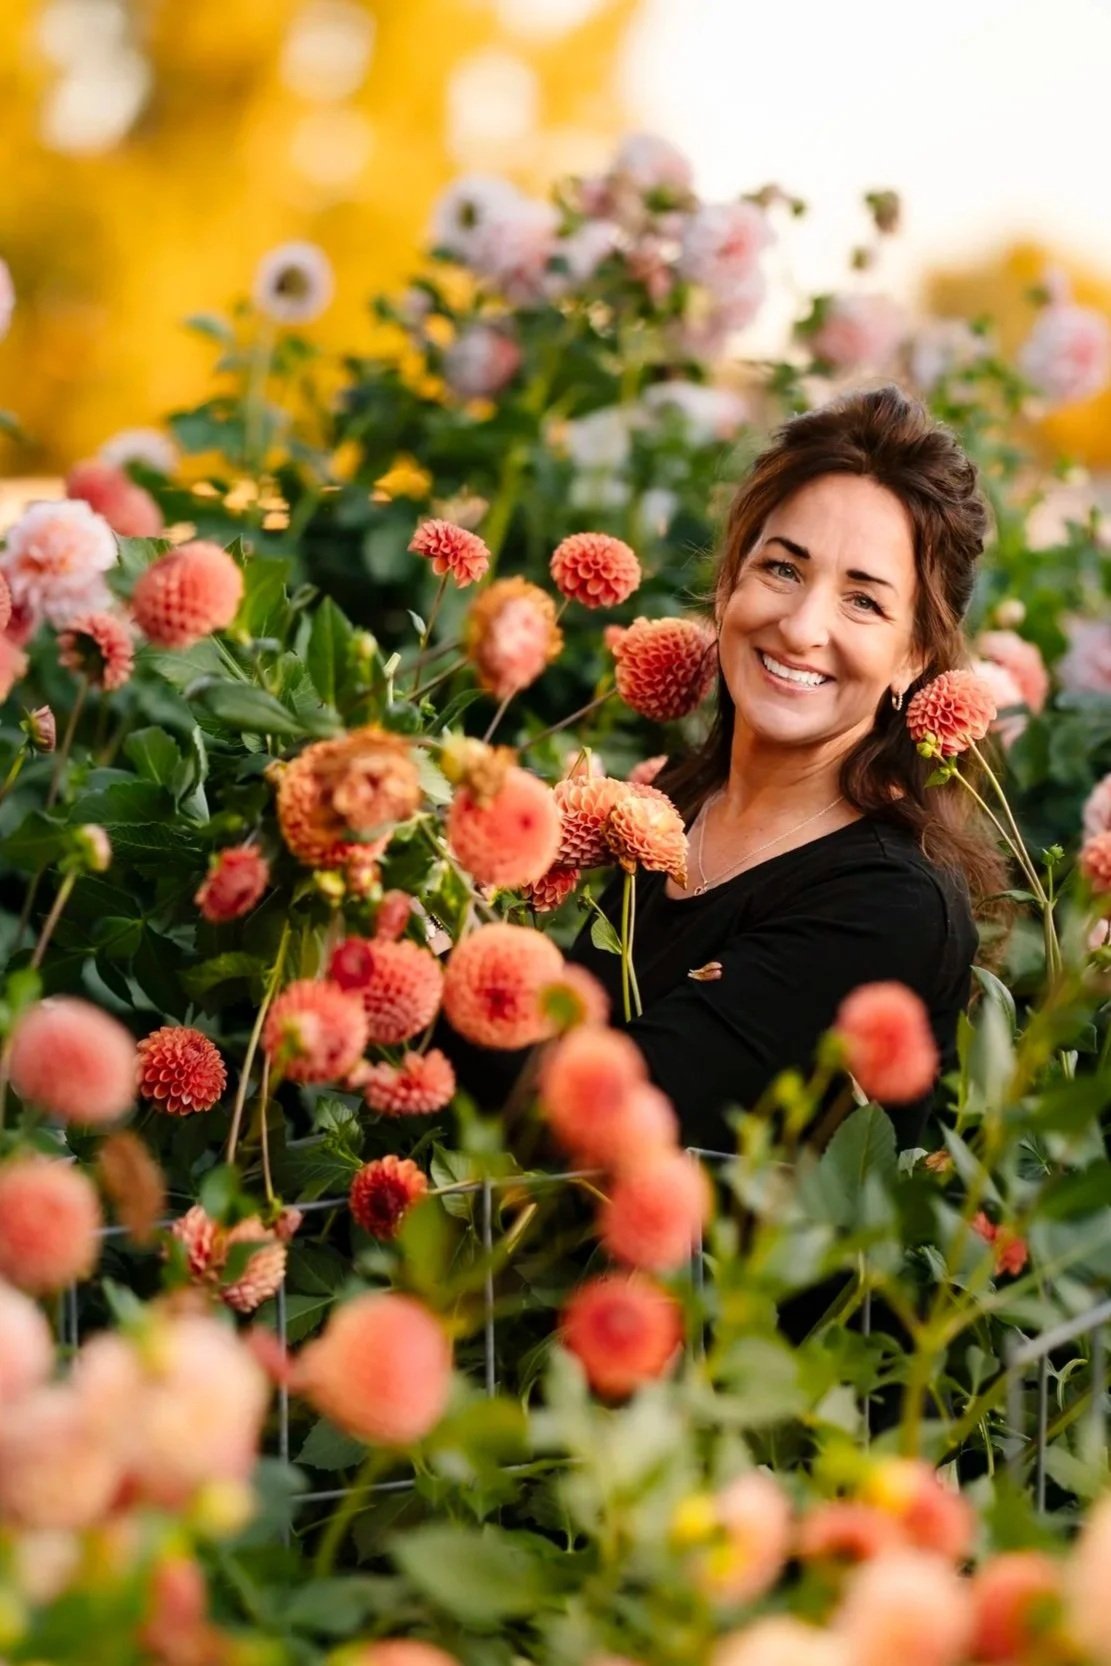
Why use Ella June Gardens for your Flower Needs?
Brides who use Ella June Gardens’ blooms claim, “They make everything look elegant and beautiful!”
Loved ones who have Ella June Gardens create casket and easel floral sprays to celebrate a life well loved say, “It is exactly what they would have wanted. You got it perfect.”
Flower Friday customers tell me, "Fresh flowers just make me happy!"
I couldn't agree more and am even happier you feel the same!
Join in as we create a local flower loving community with the Treasure Valley’s original Farmer Florist.
Be the first to know when your favorite flowers are available!
Get flower tips.
Be the first to know when workshops are open.
Join Us!


